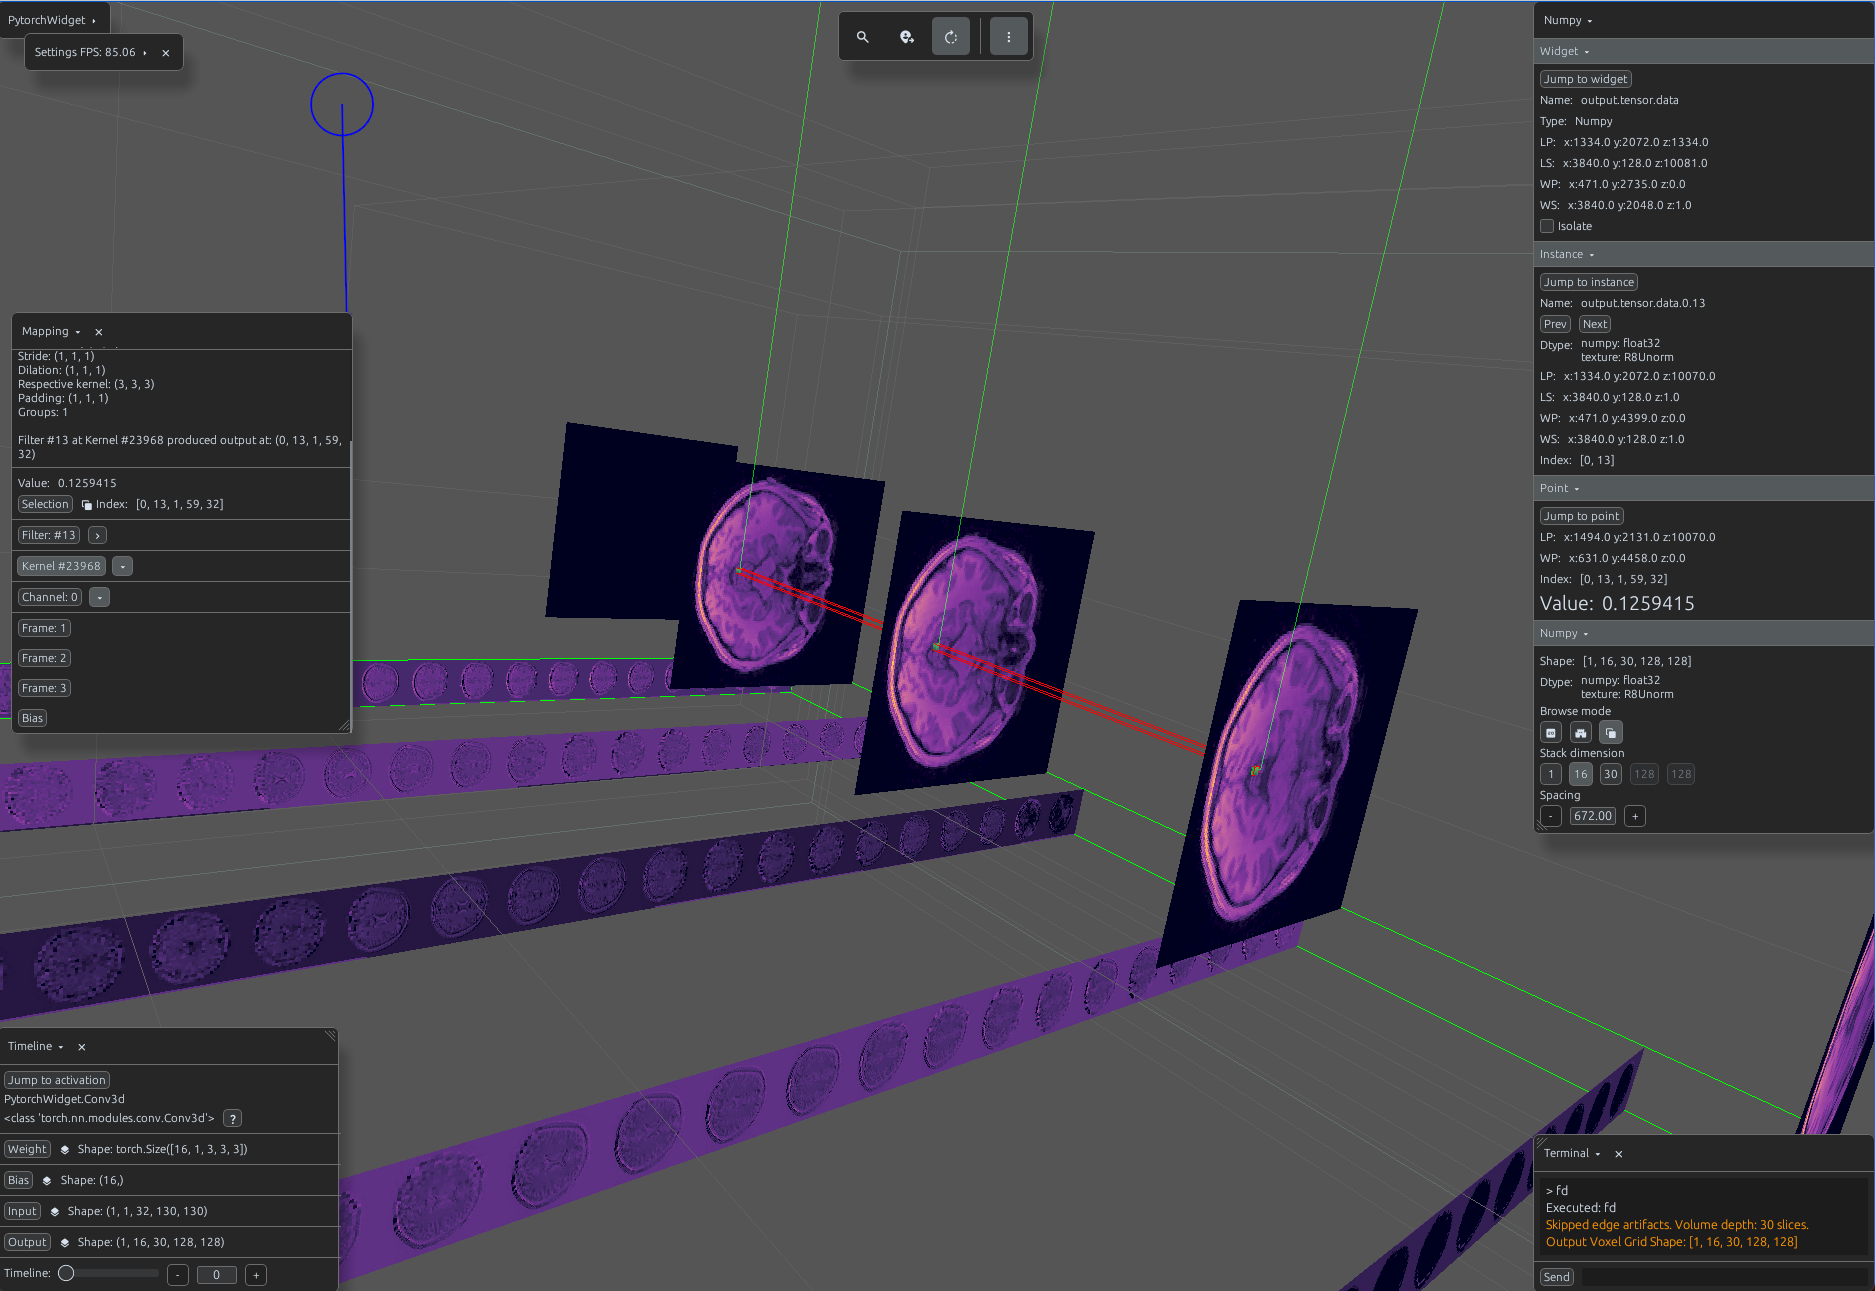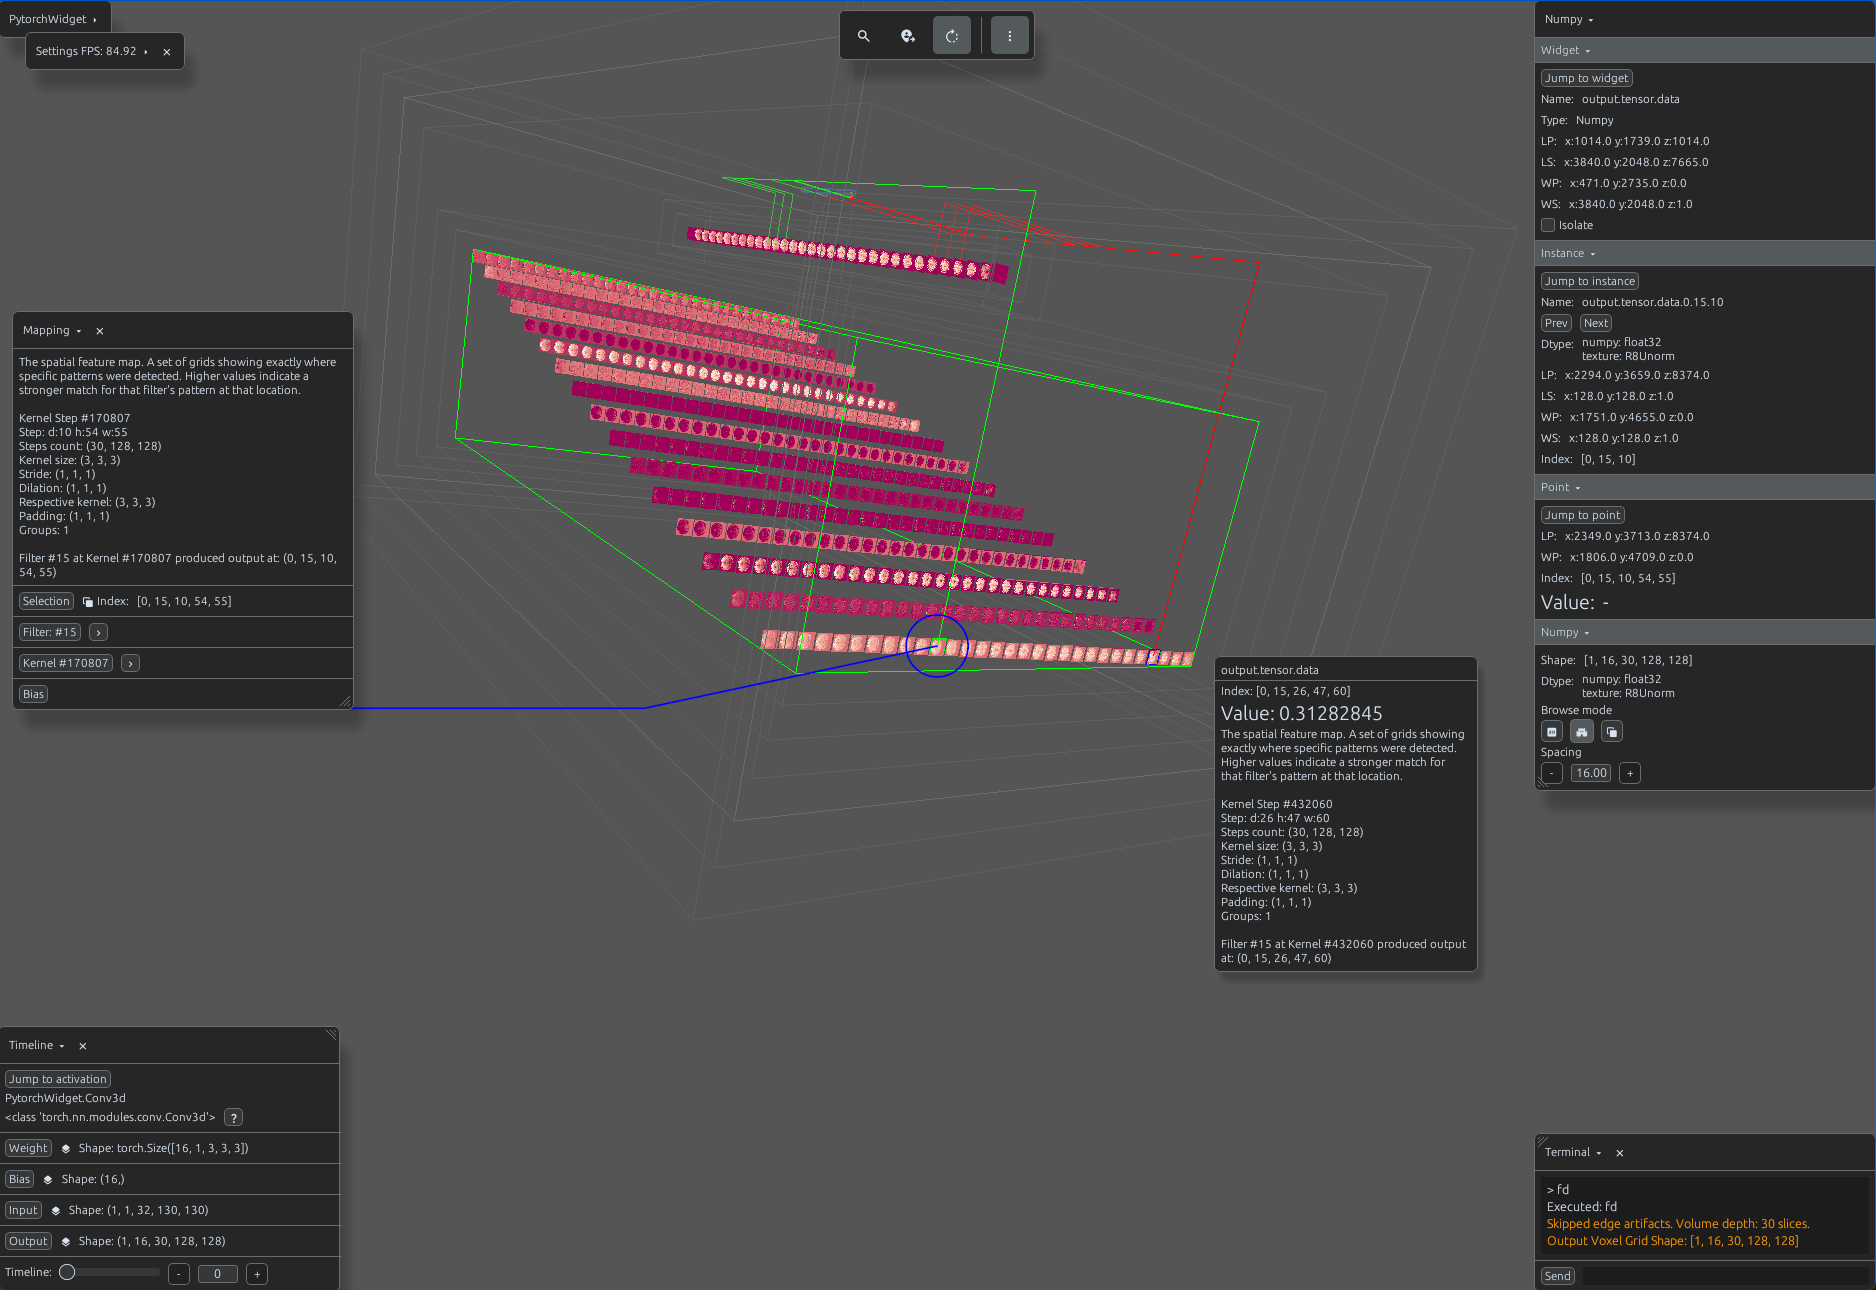
Conv3d

https://pytorch.org/docs/stable/generated/torch.nn.Conv3d.html

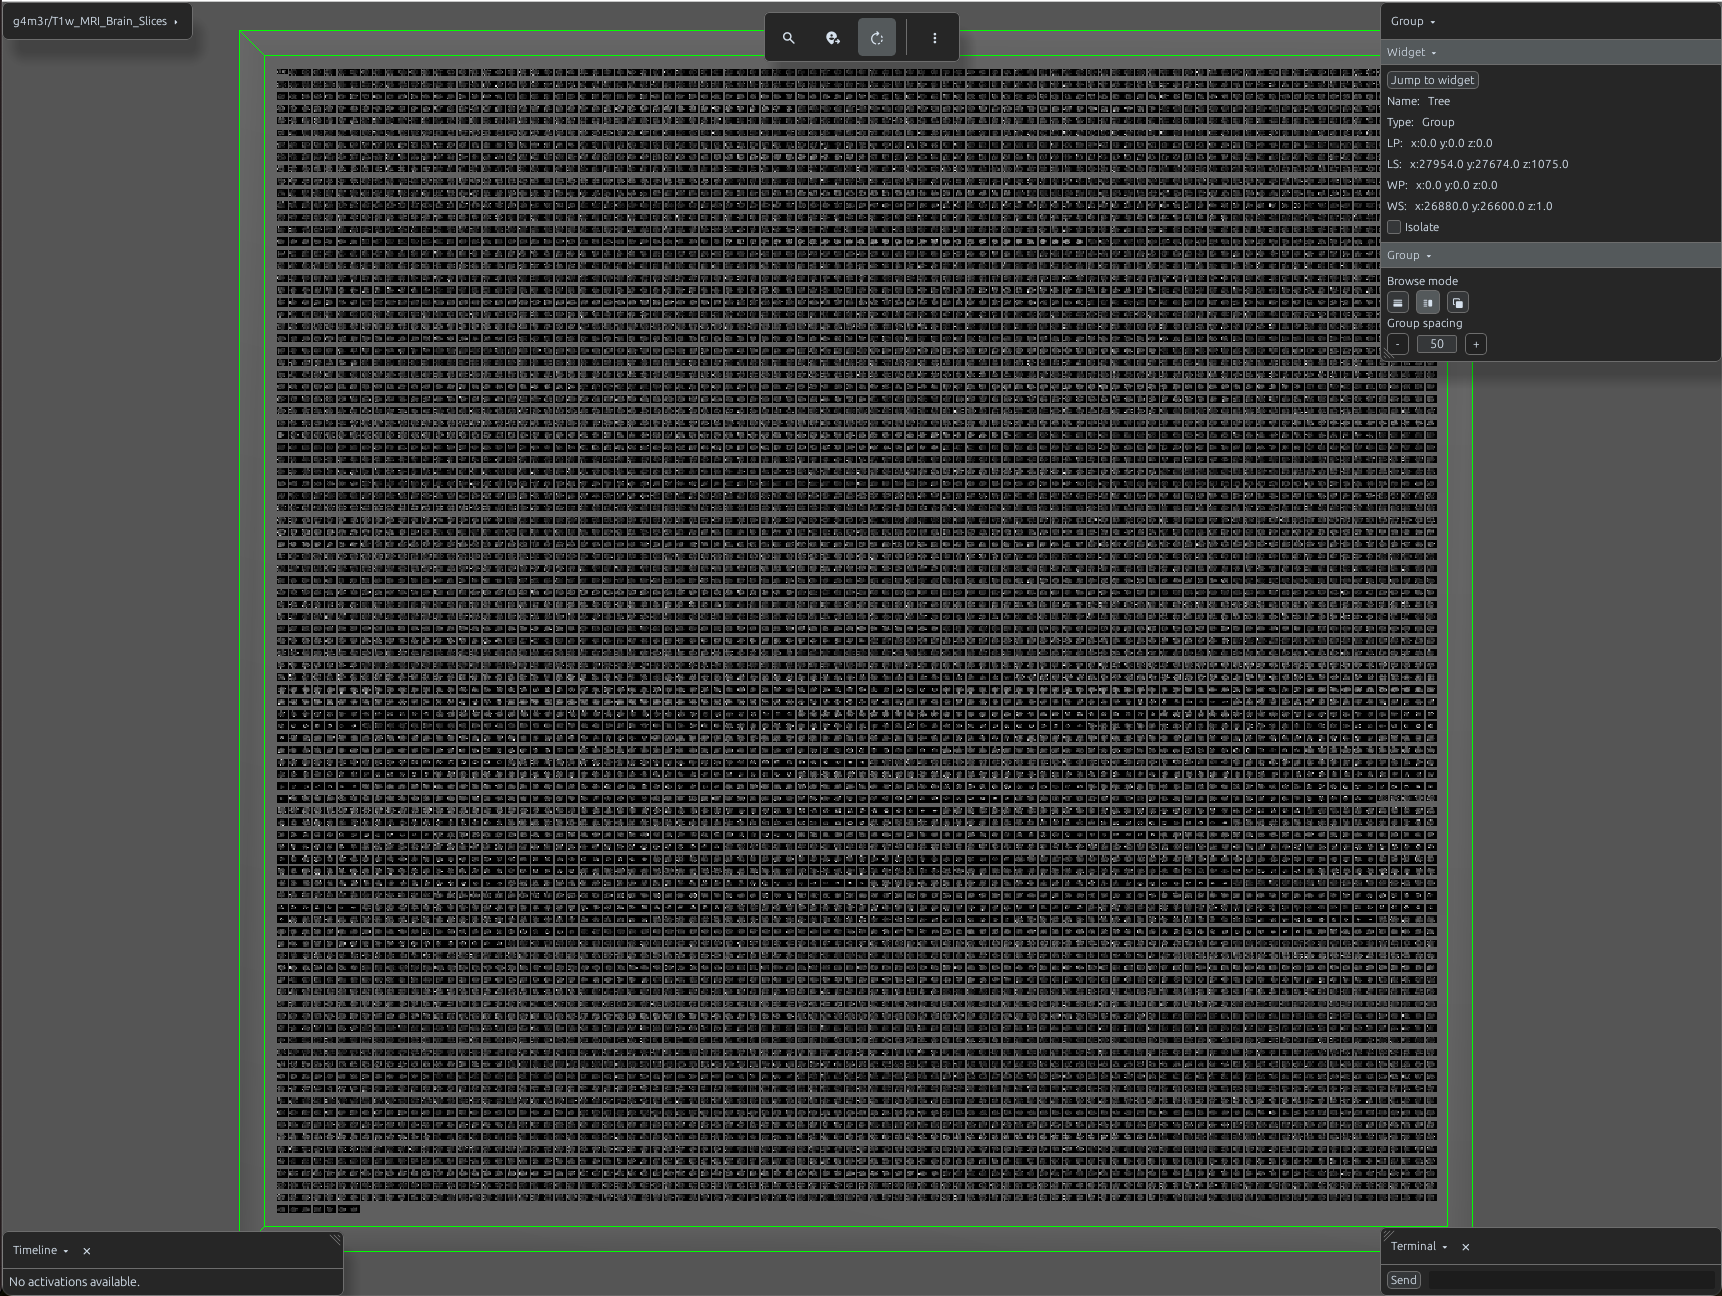
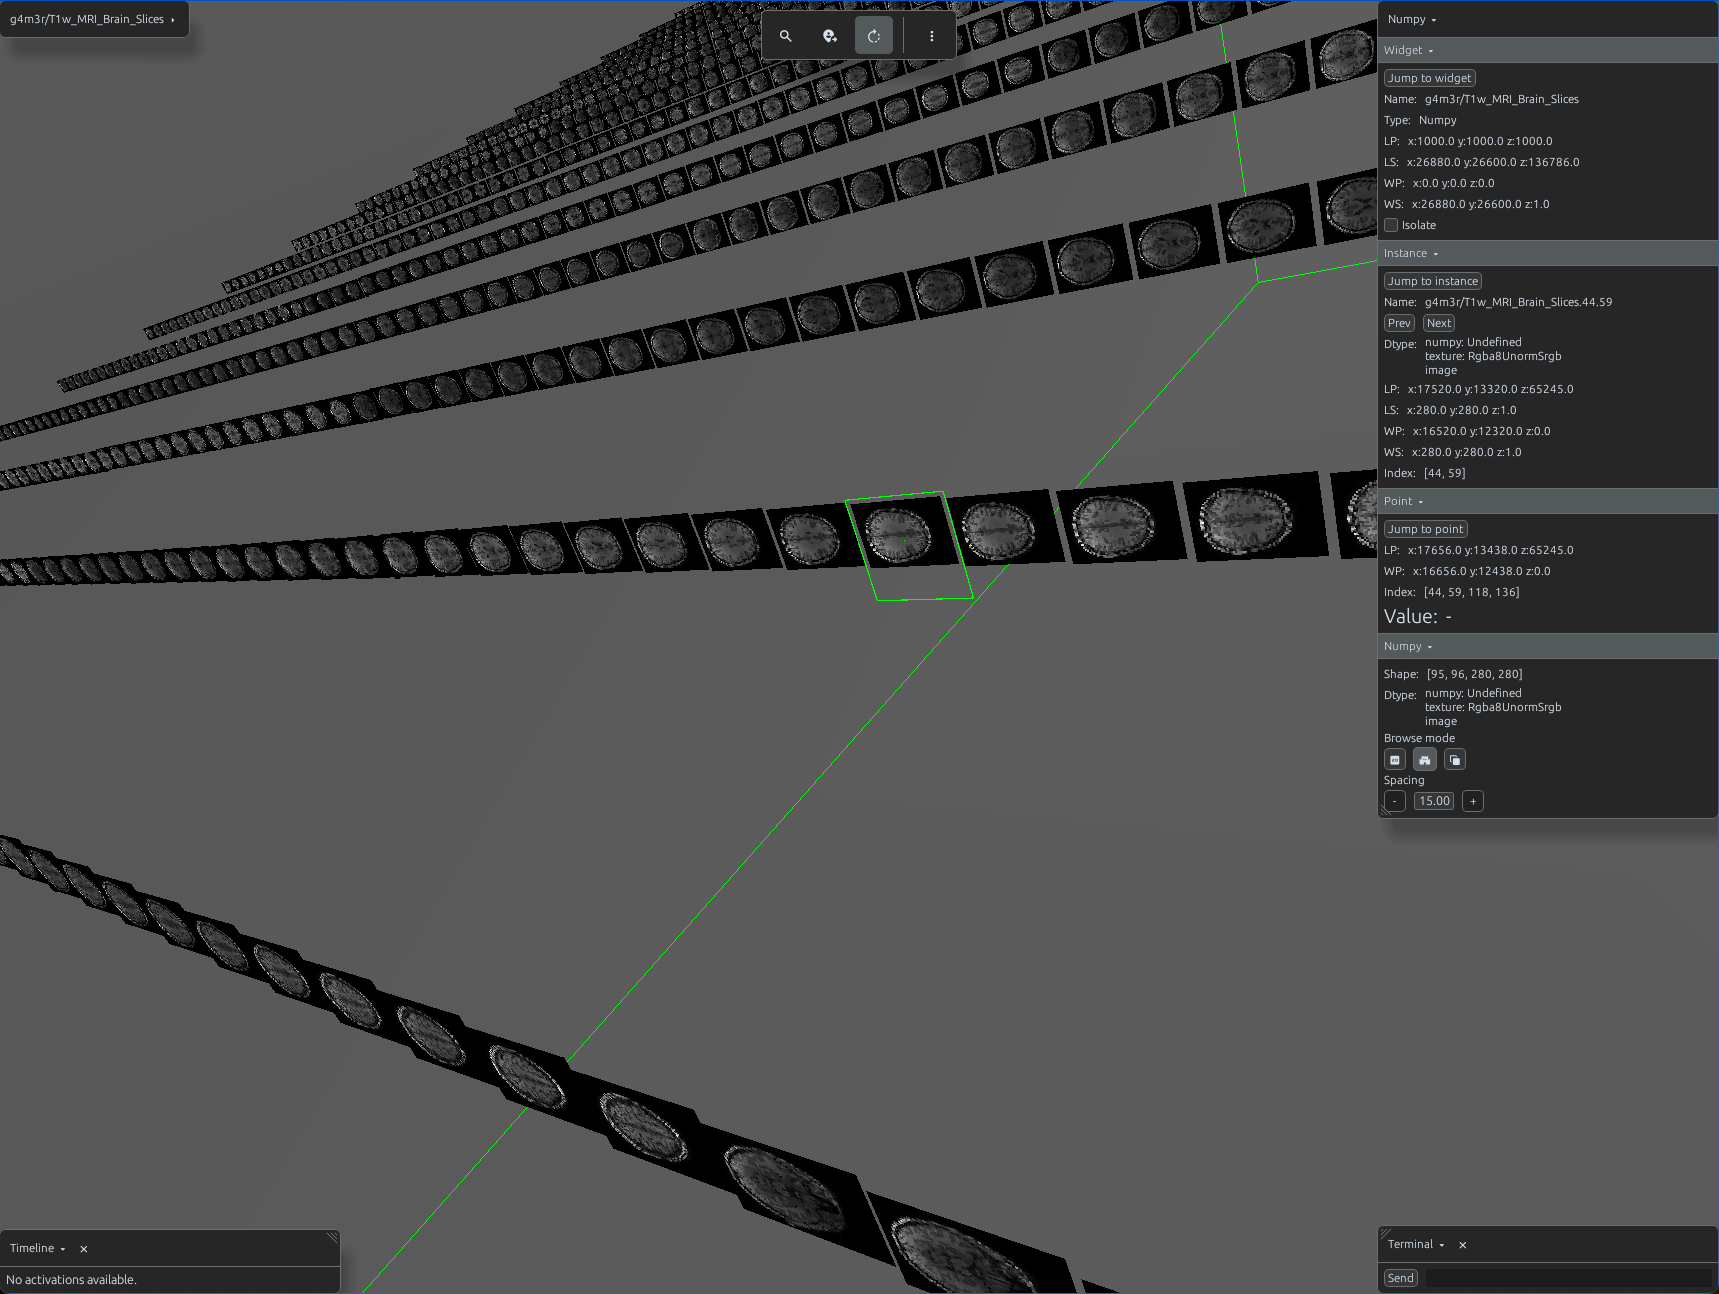
Sidenote: You can visualize the entire dataset using this code:
import svetoviz_webgpu as sv

hf_name = "g4m3r/T1w_MRI_Brain_Slices"
dataset = load_dataset(hf_name, split="train")
output_dir = f"/Volumes/Untitled/{hf_name}"
layout = DatasetLayout(
    name=hf_name,
    dataset=dataset,
    image_columns=["image"],
    cell_size=(256, 256),
)
sv.save_to_disc(
    view=layout,
    threaded=True,
    directory=output_dir,
    compression=CompressionMode.PNG_0
)
sv.load_from_disc_web(directory=output_dir)
g4m3r/T1w_MRI_Brain_Slices
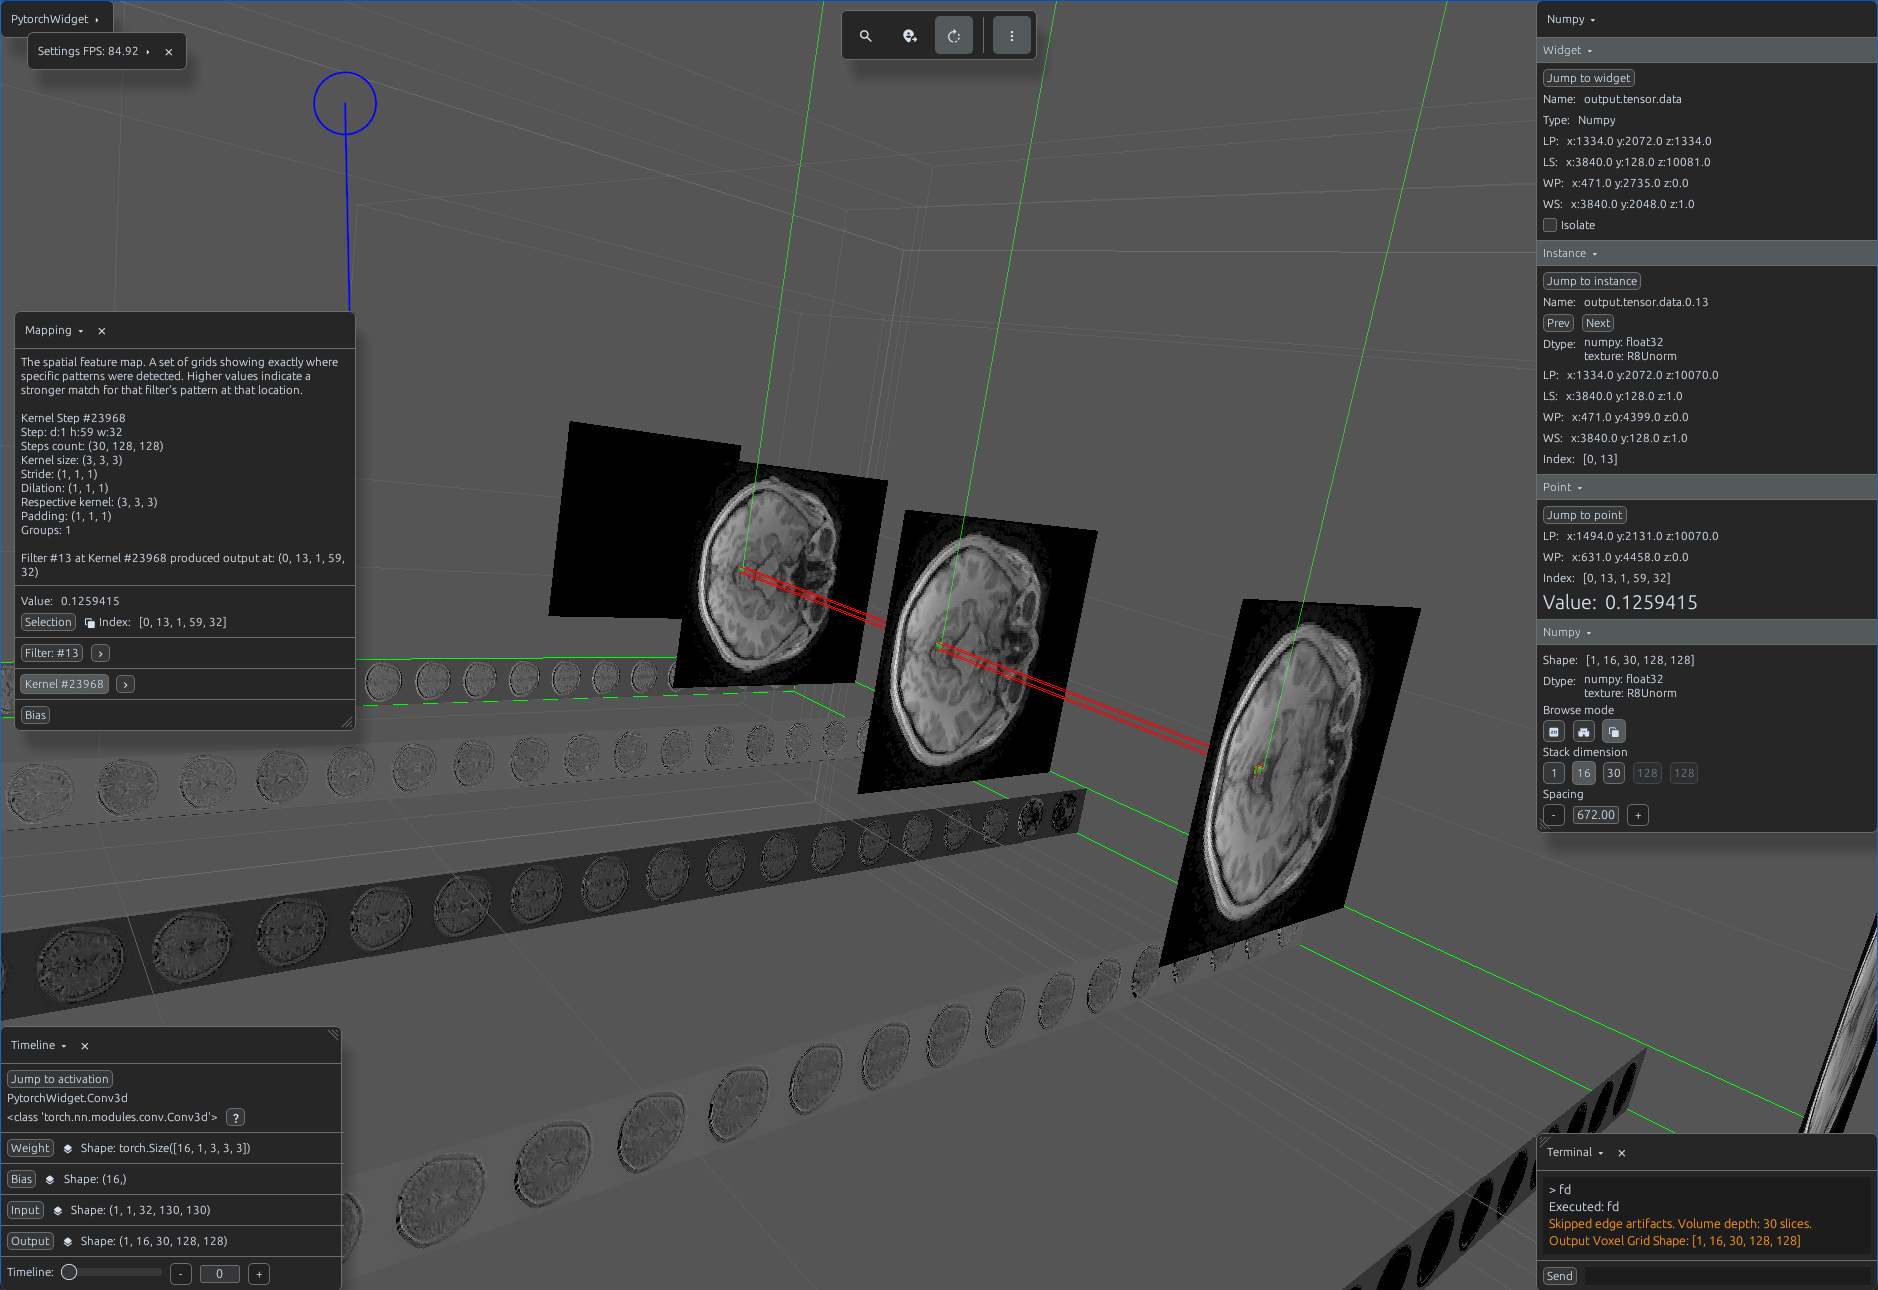
3D MRI Brain Volume Input
Spread
MRI Slice Stack View
conv3d_demo.py
import svetoviz_webgpu as sv

# 1. Prepare 3D volumetric data (Streaming from HF)
ds = load_dataset("g4m3r/T1w_MRI_Brain_Slices", split="train", streaming=True)

# 2. Skip first 2 noisy slices, take 30 consecutive coronal layers
slices = [np.array(ex['image'].convert("L")) for ex in ds.skip(2).take(30)]
input_volume = torch.from_numpy(np.stack(slices)).unsqueeze(0).unsqueeze(0)

# 3. Define the 3D Convolutional module
conv3d = nn.Conv3d(in_channels=1, out_channels=16, kernel_size=3, padding=1)

def terminal_callback(buffer, message, images, files):
    # 4. Process volume (1, 1, 30, H, W) through the module
    output = conv3d(input_volume)
    buffer.send_system_message(f"Voxel Grid Ready. Shape: {list(output.shape)}")

# 5. Start the interactive session
sv.pytorch_web(module=conv3d, terminal_callback=terminal_callback)
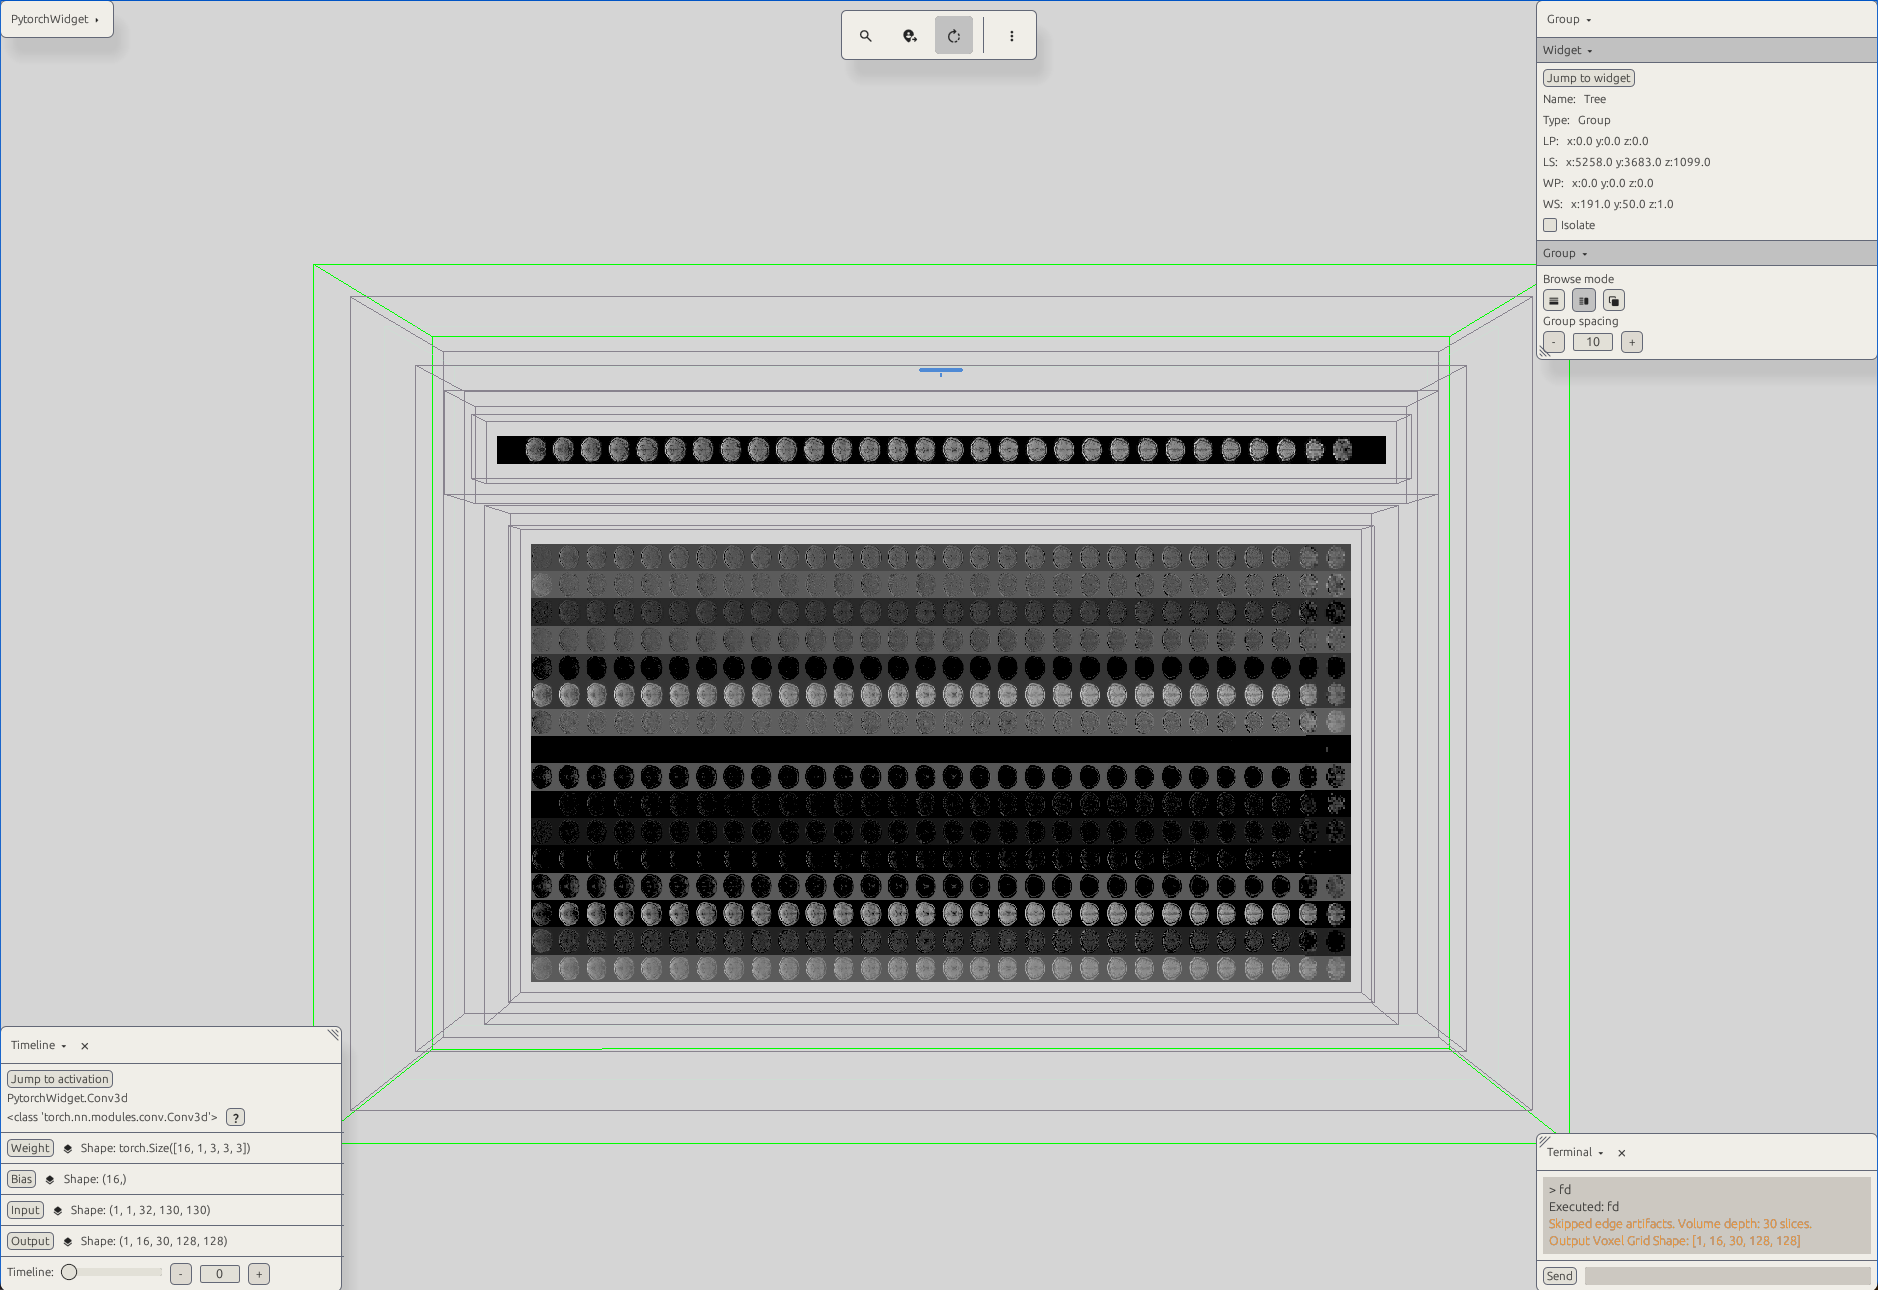
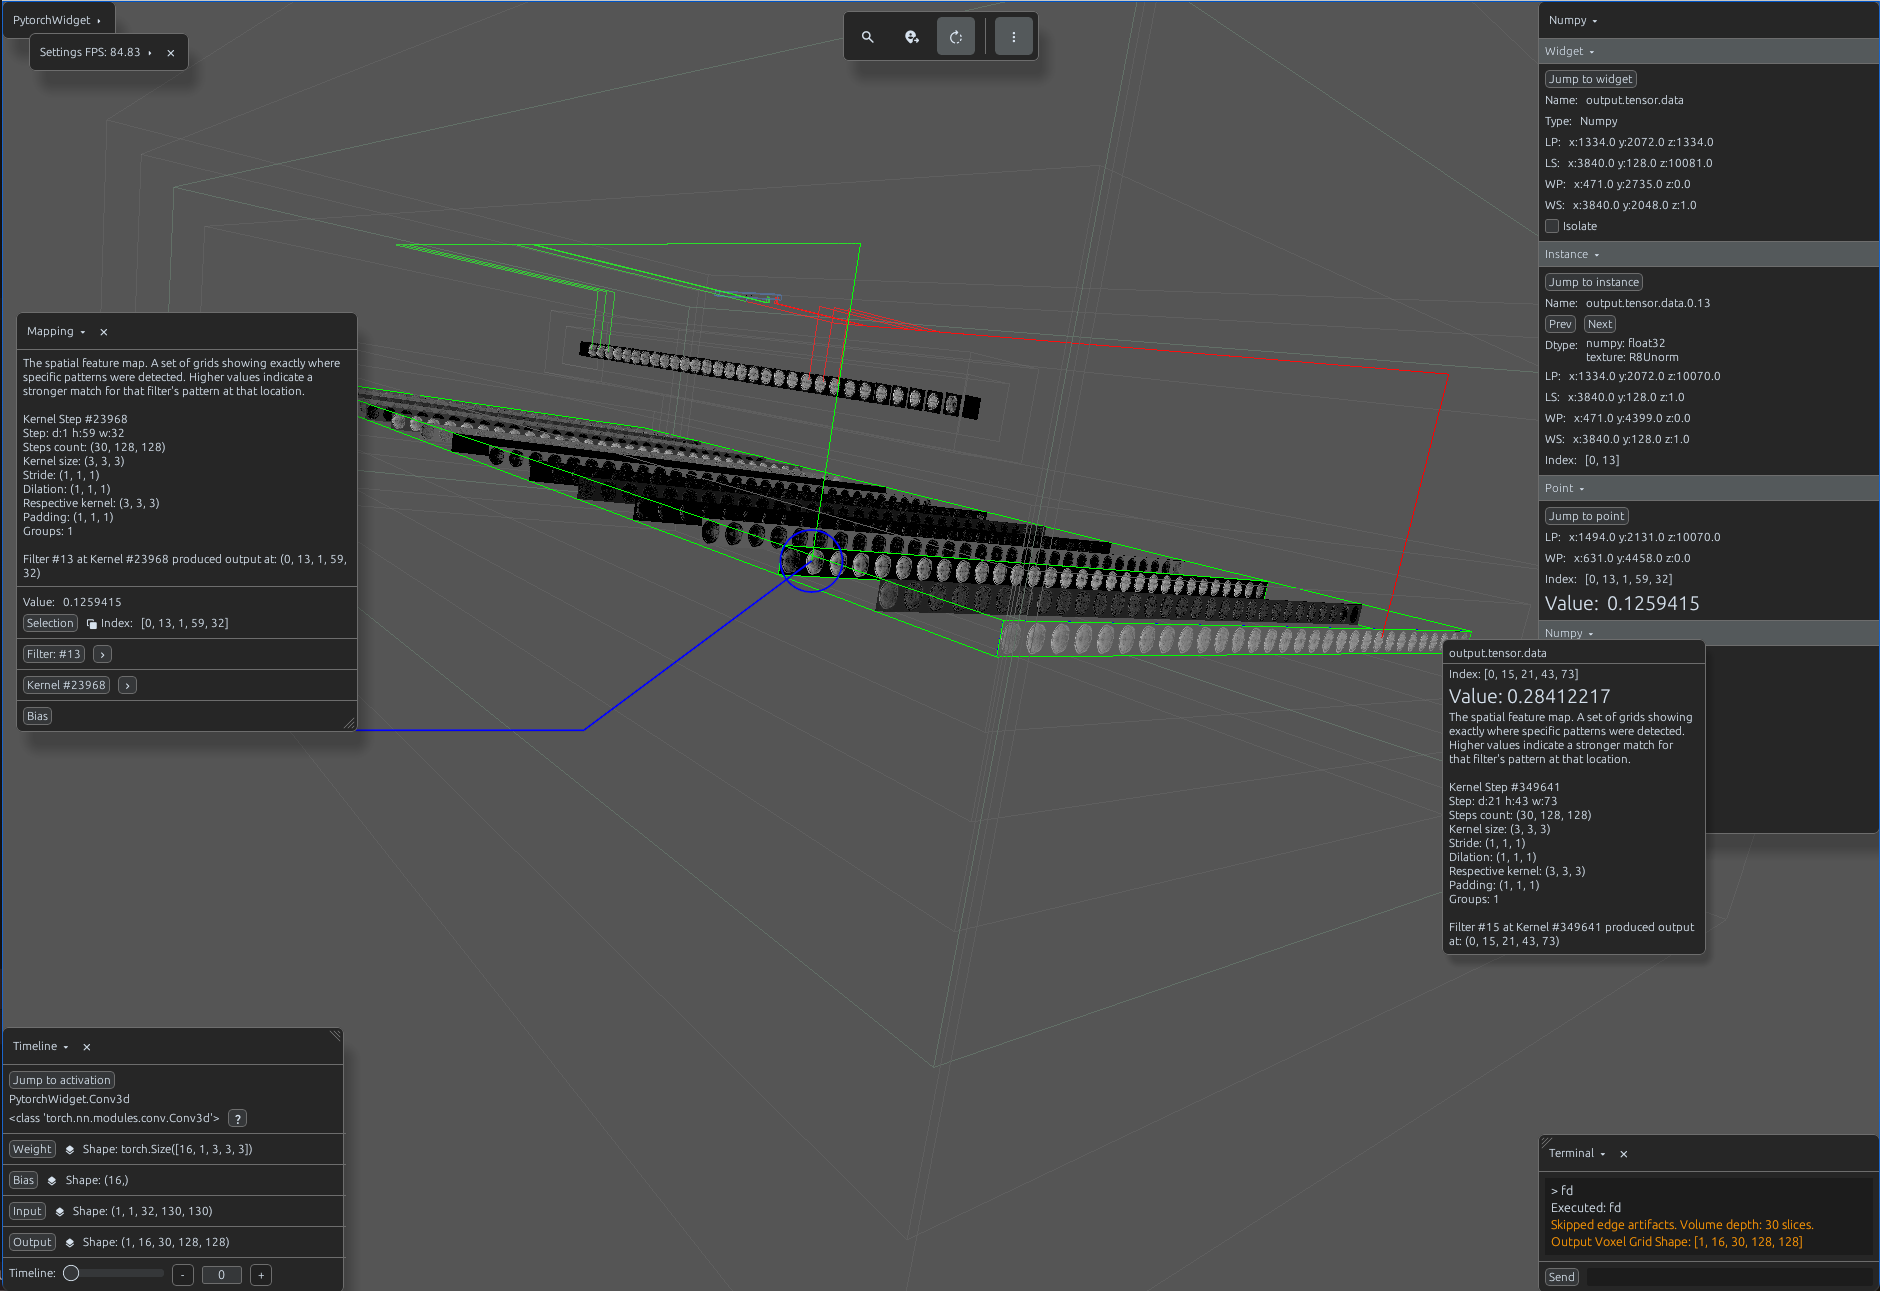
Activation input and output (theme light, flat)
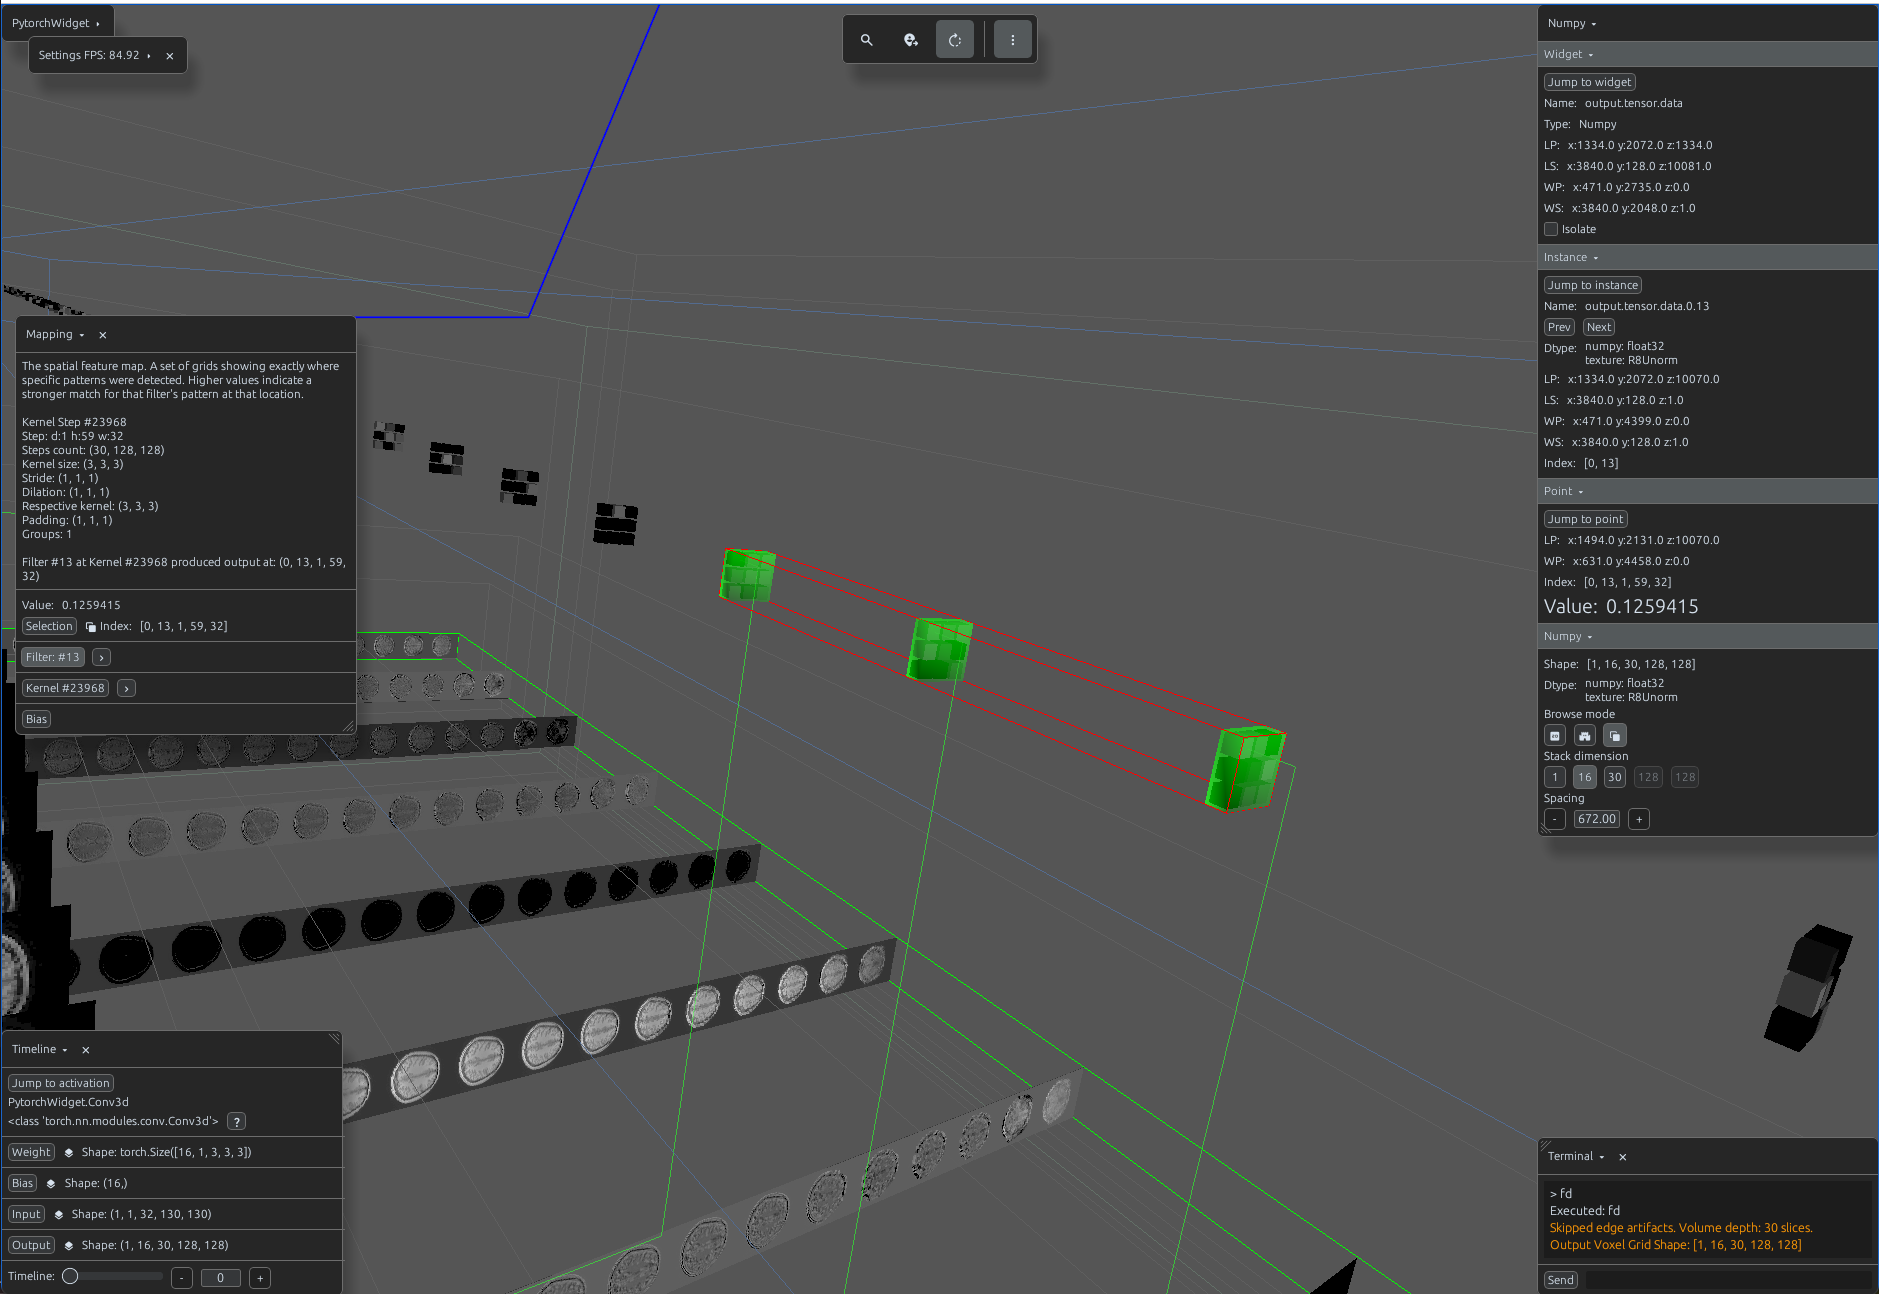
Conv3d 3D activations
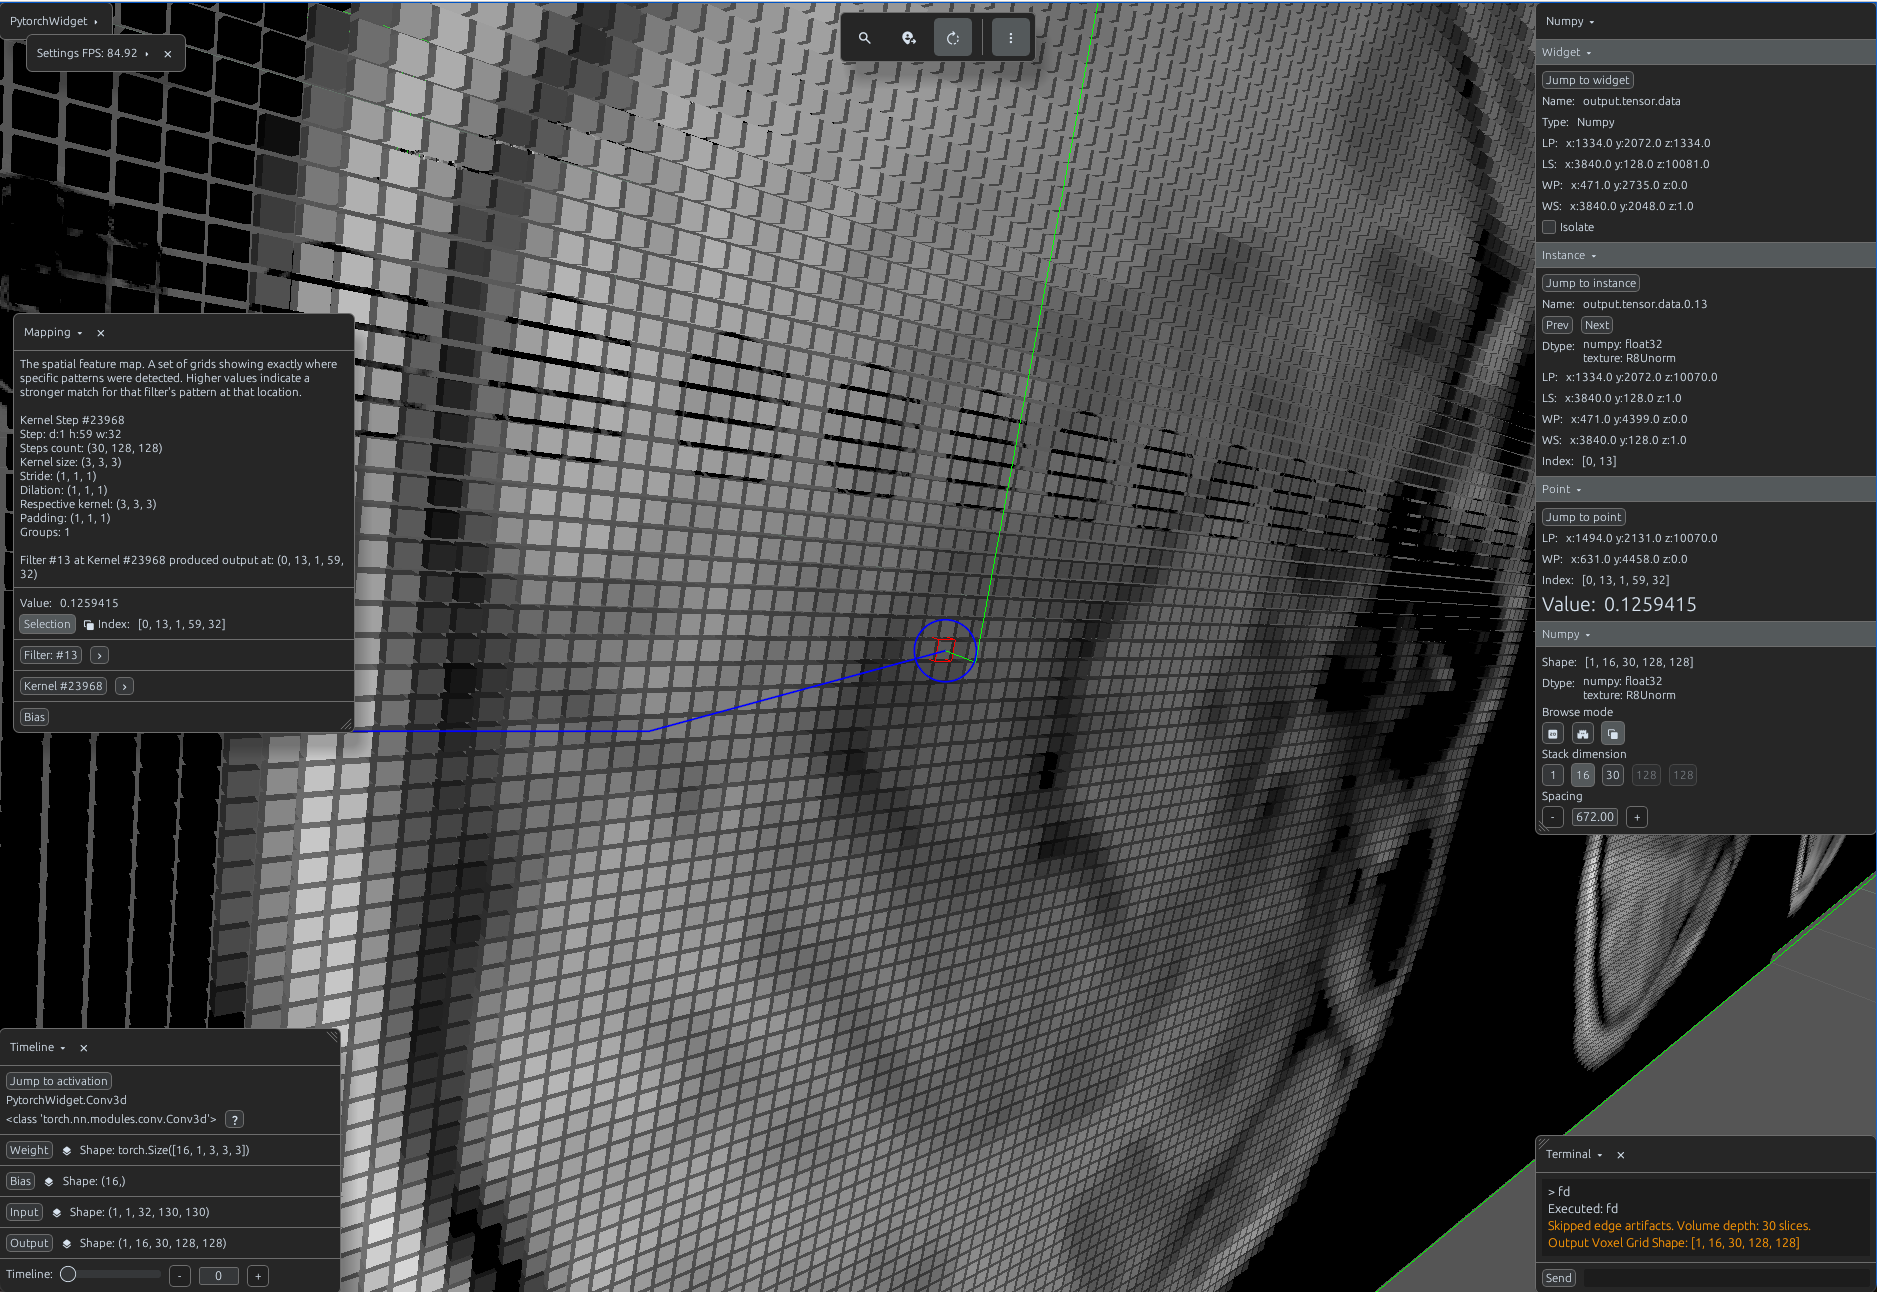
Output Mapping
Conv3d voxel mapping
Selected output value
Conv3d weights
Filter
Conv3d bias
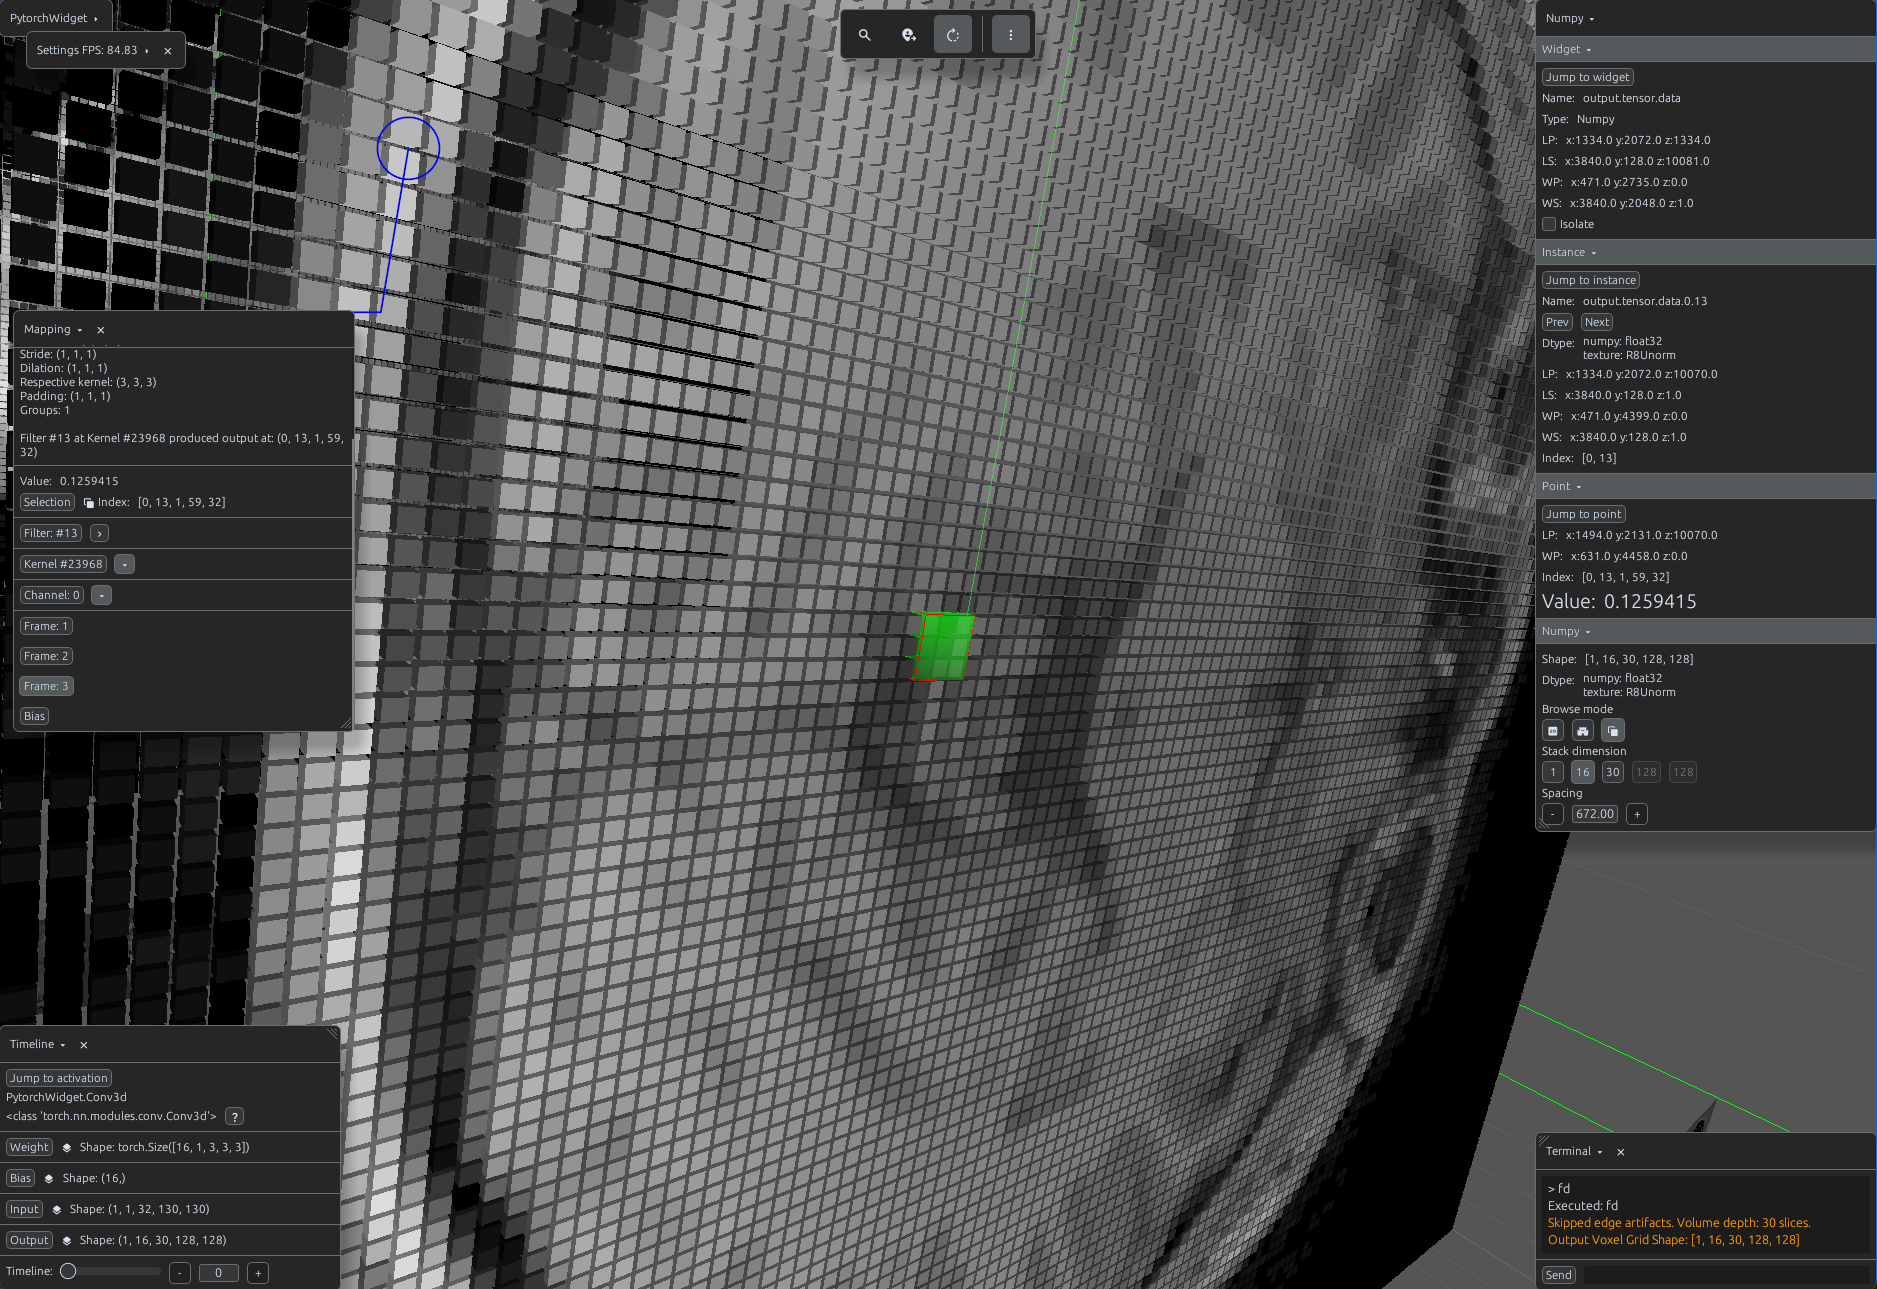
3D Kernel
Conv3d volumetric features
Kernel channel
Conv3d 3D receptive field
Color map Plasma
Conv3d Plasma colormap
Color map Magma
Conv3d Magma colormap