import svetoviz_webgpu as sv
import torch
import torch.nn as nn
from PIL import Image
# Prepare data
url = "https://cdn.freecodecamp.org/curriculum/cat-photo-app/relaxing-cat.jpg"
img = Image.open(requests.get(url, stream=True).raw).resize((64, 64))
img_np = np.array(img).transpose(2, 0, 1)
image_data = torch.from_numpy(img_np).float().unsqueeze(0)
# Your pytorch module
conv = nn.Conv2d(3, 4, 5, padding=10)
def terminal_callback(buffer, message, images, files):
# Interact with the module as you normally do
conv(image_data)
buffer.send_system_message("processed")
# Start the session
sv.pytorch(module=conv, terminal_callback=terminal_callback)
PyTorch Integration
Svetoviz provides native support for PyTorch modules. Your interaction activations are collected and presented on the screen, allowing for real-time inspection of data transformations.
Interactive Modules
The pytorch interface wraps your nn.Module and provides a terminal for
live interaction. This allows you to process data and inspect the resulting tensors without leaving
the visualization environment.
Layer Relations
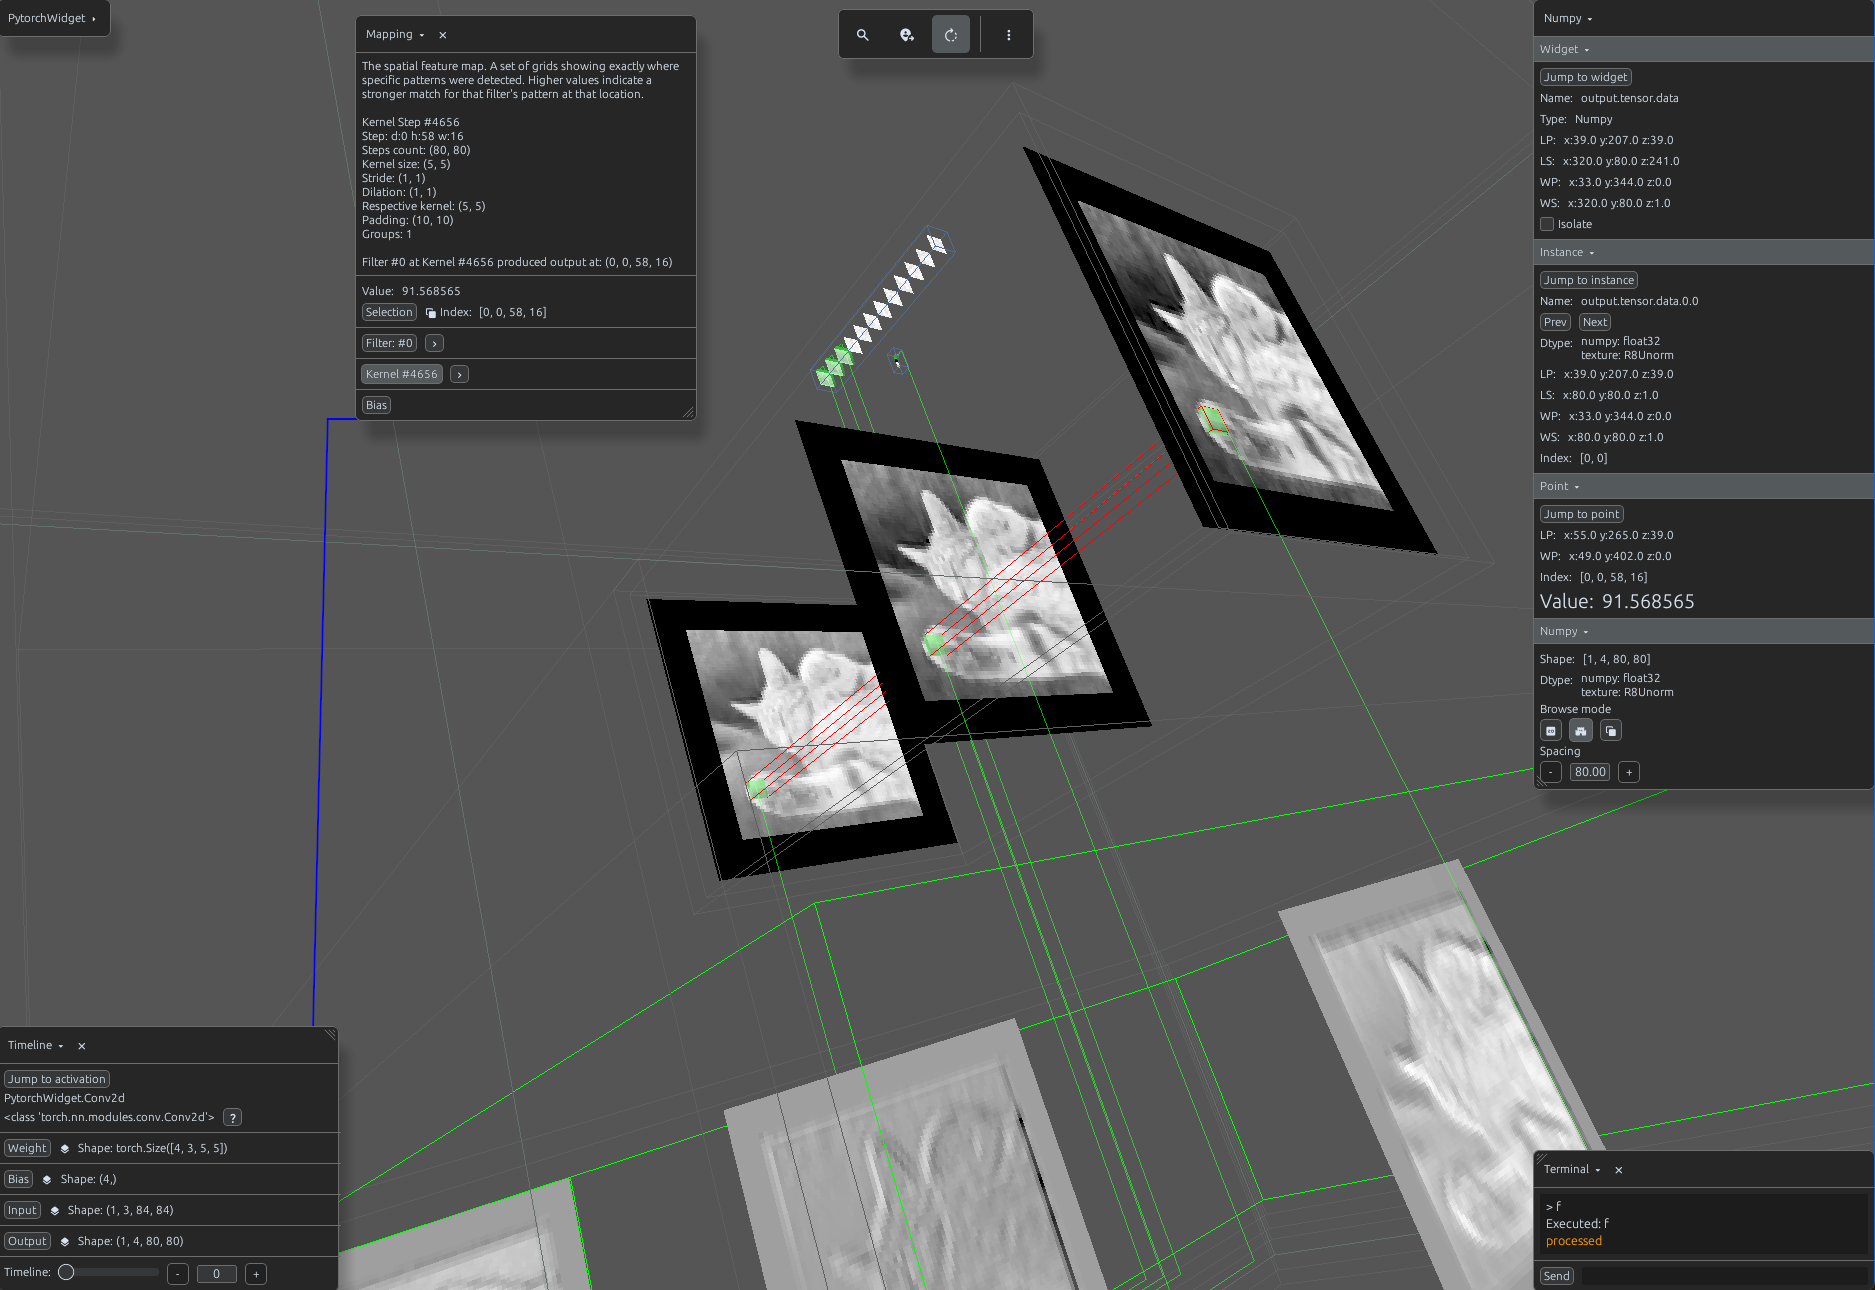
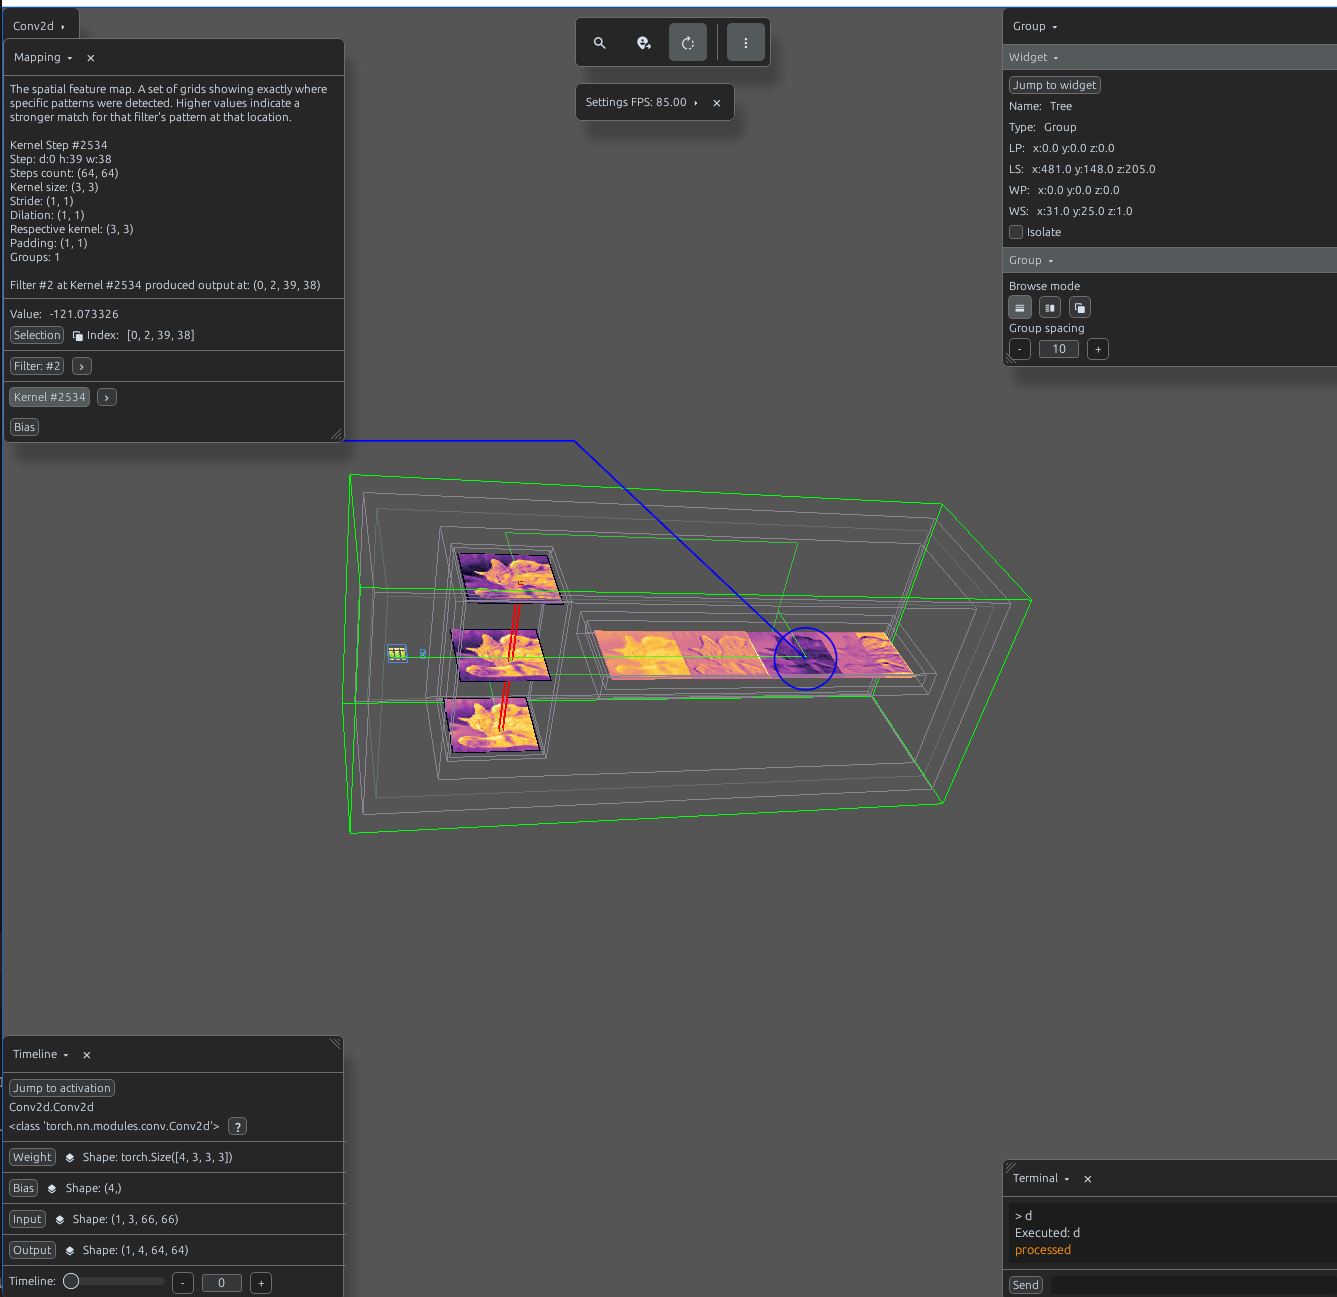
You can hover or click on output values to see the mappings and relations between layers. Svetoviz provides a visual explanation of the provenance for each value in the tensor.
For example, you can find the exact kernel position for convolutions, or visualize the
column-to-patch mapping for operations like fold and unfold.