@classmethod
def model(cls,
    id,
    model,
    tokenizer=None,
    image_processor=None,
    video_processor=None,
    processor=None,
    scheduler=None,
    feature_extractor=None,
    terminal_callback=None,
    blocking=True
)
@classmethod
def pipeline(cls,
    id,
    pipe,
    terminal_callback=None
    blocking=True
)
To interact with the model, use the terminal_callback function to send data directly from the GUI,
or use the blocking=False argument (WebGPU only) to attach the debugger in non-blocking mode and continue your standard interaction loop.
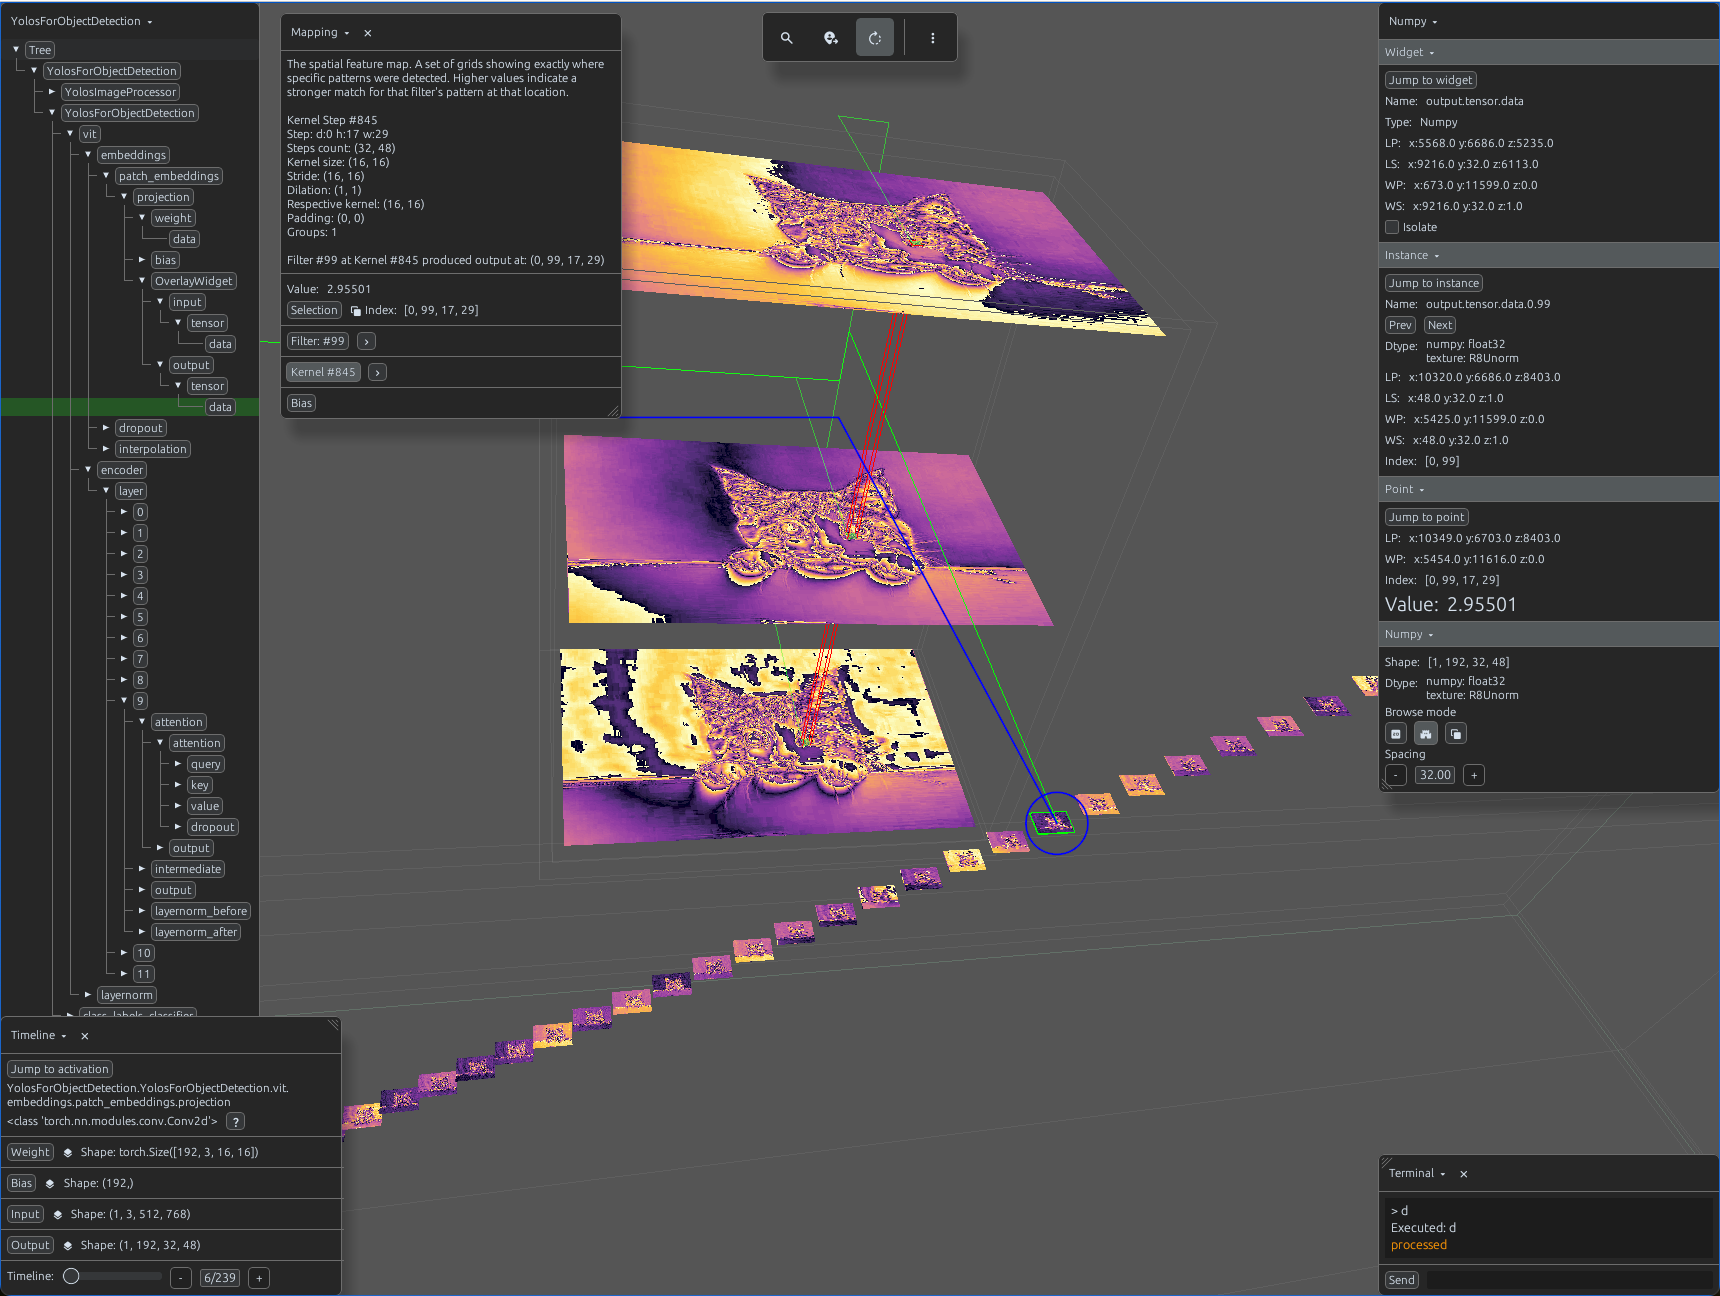
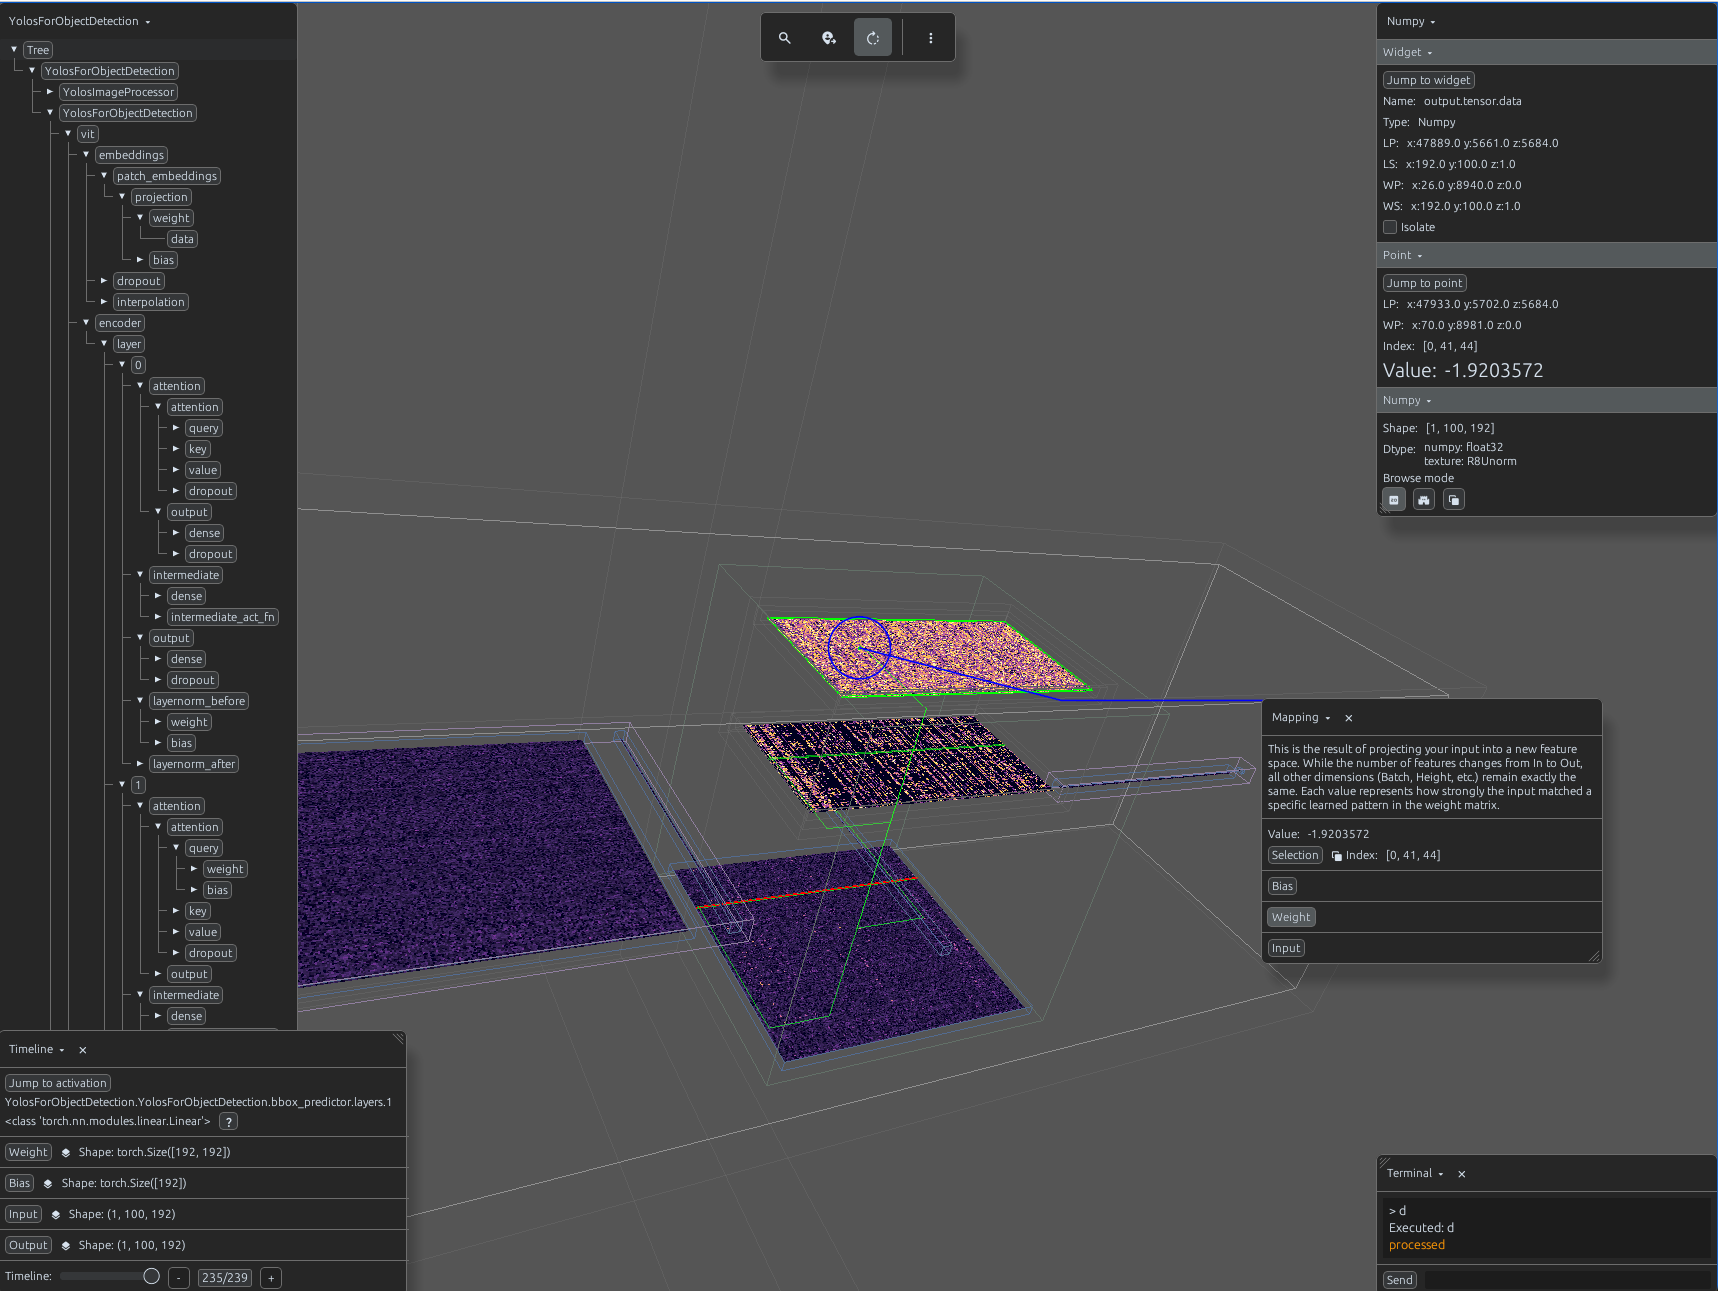
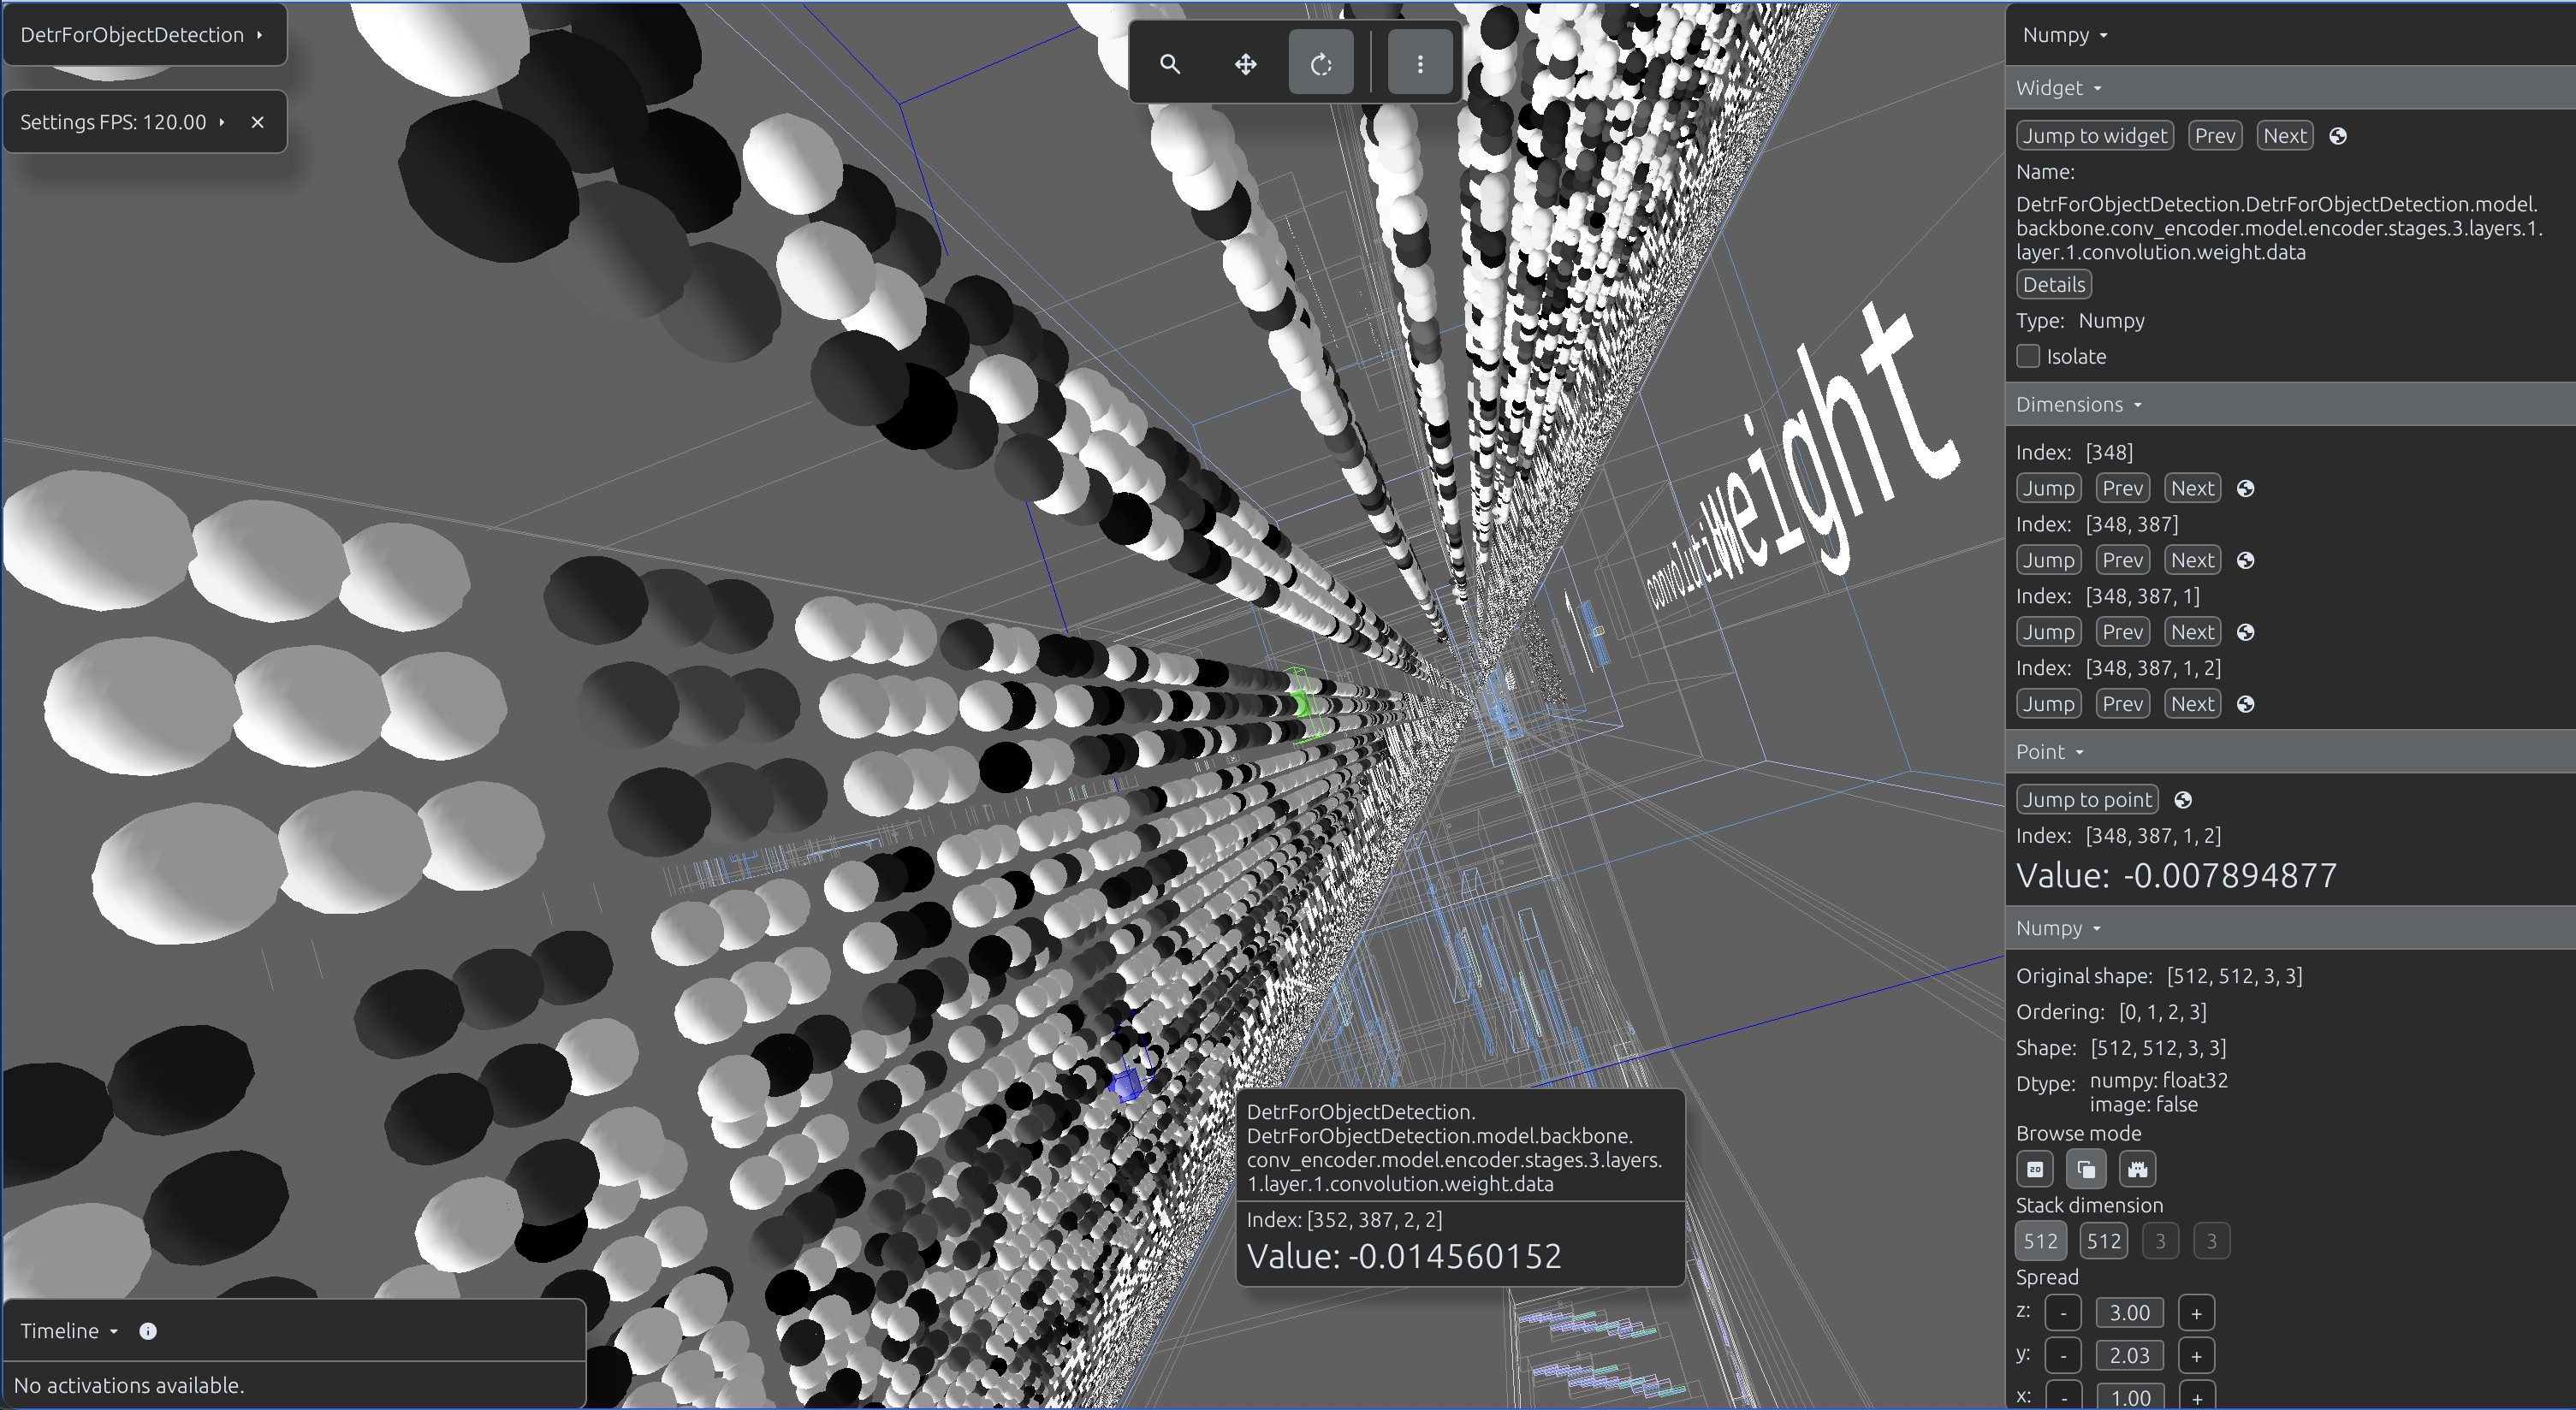
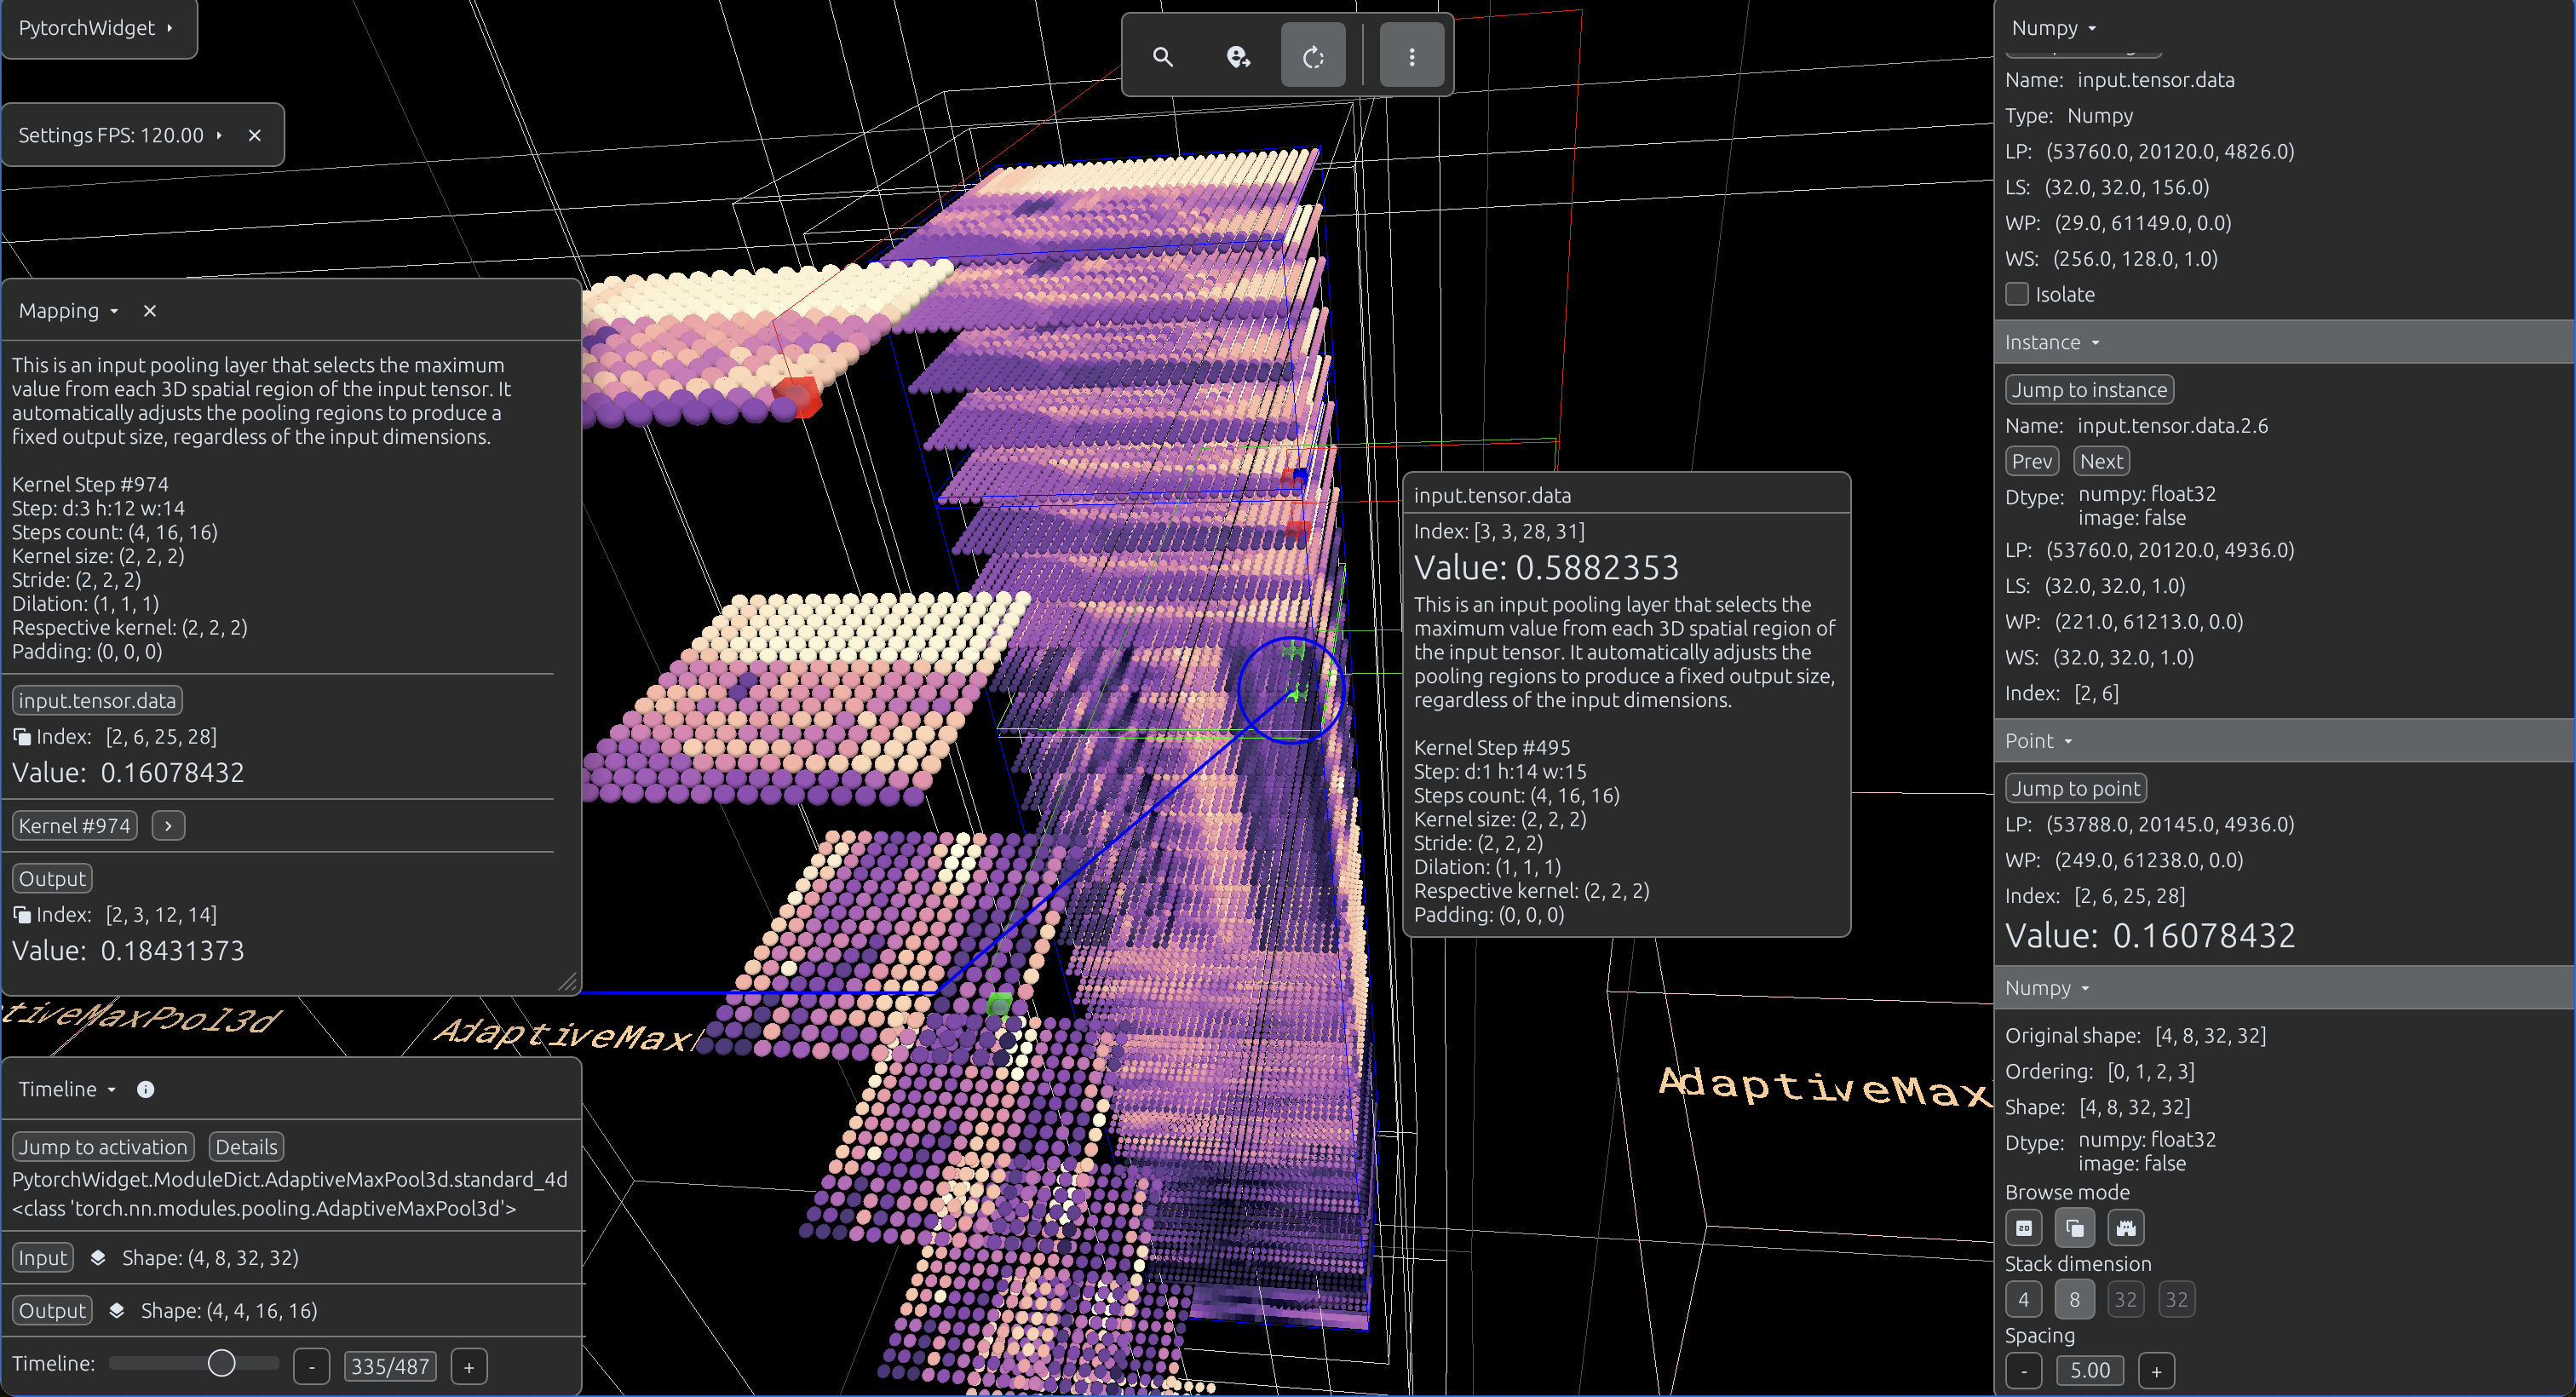
Selected breakpoints flash during interaction, and their activations are automatically collected.
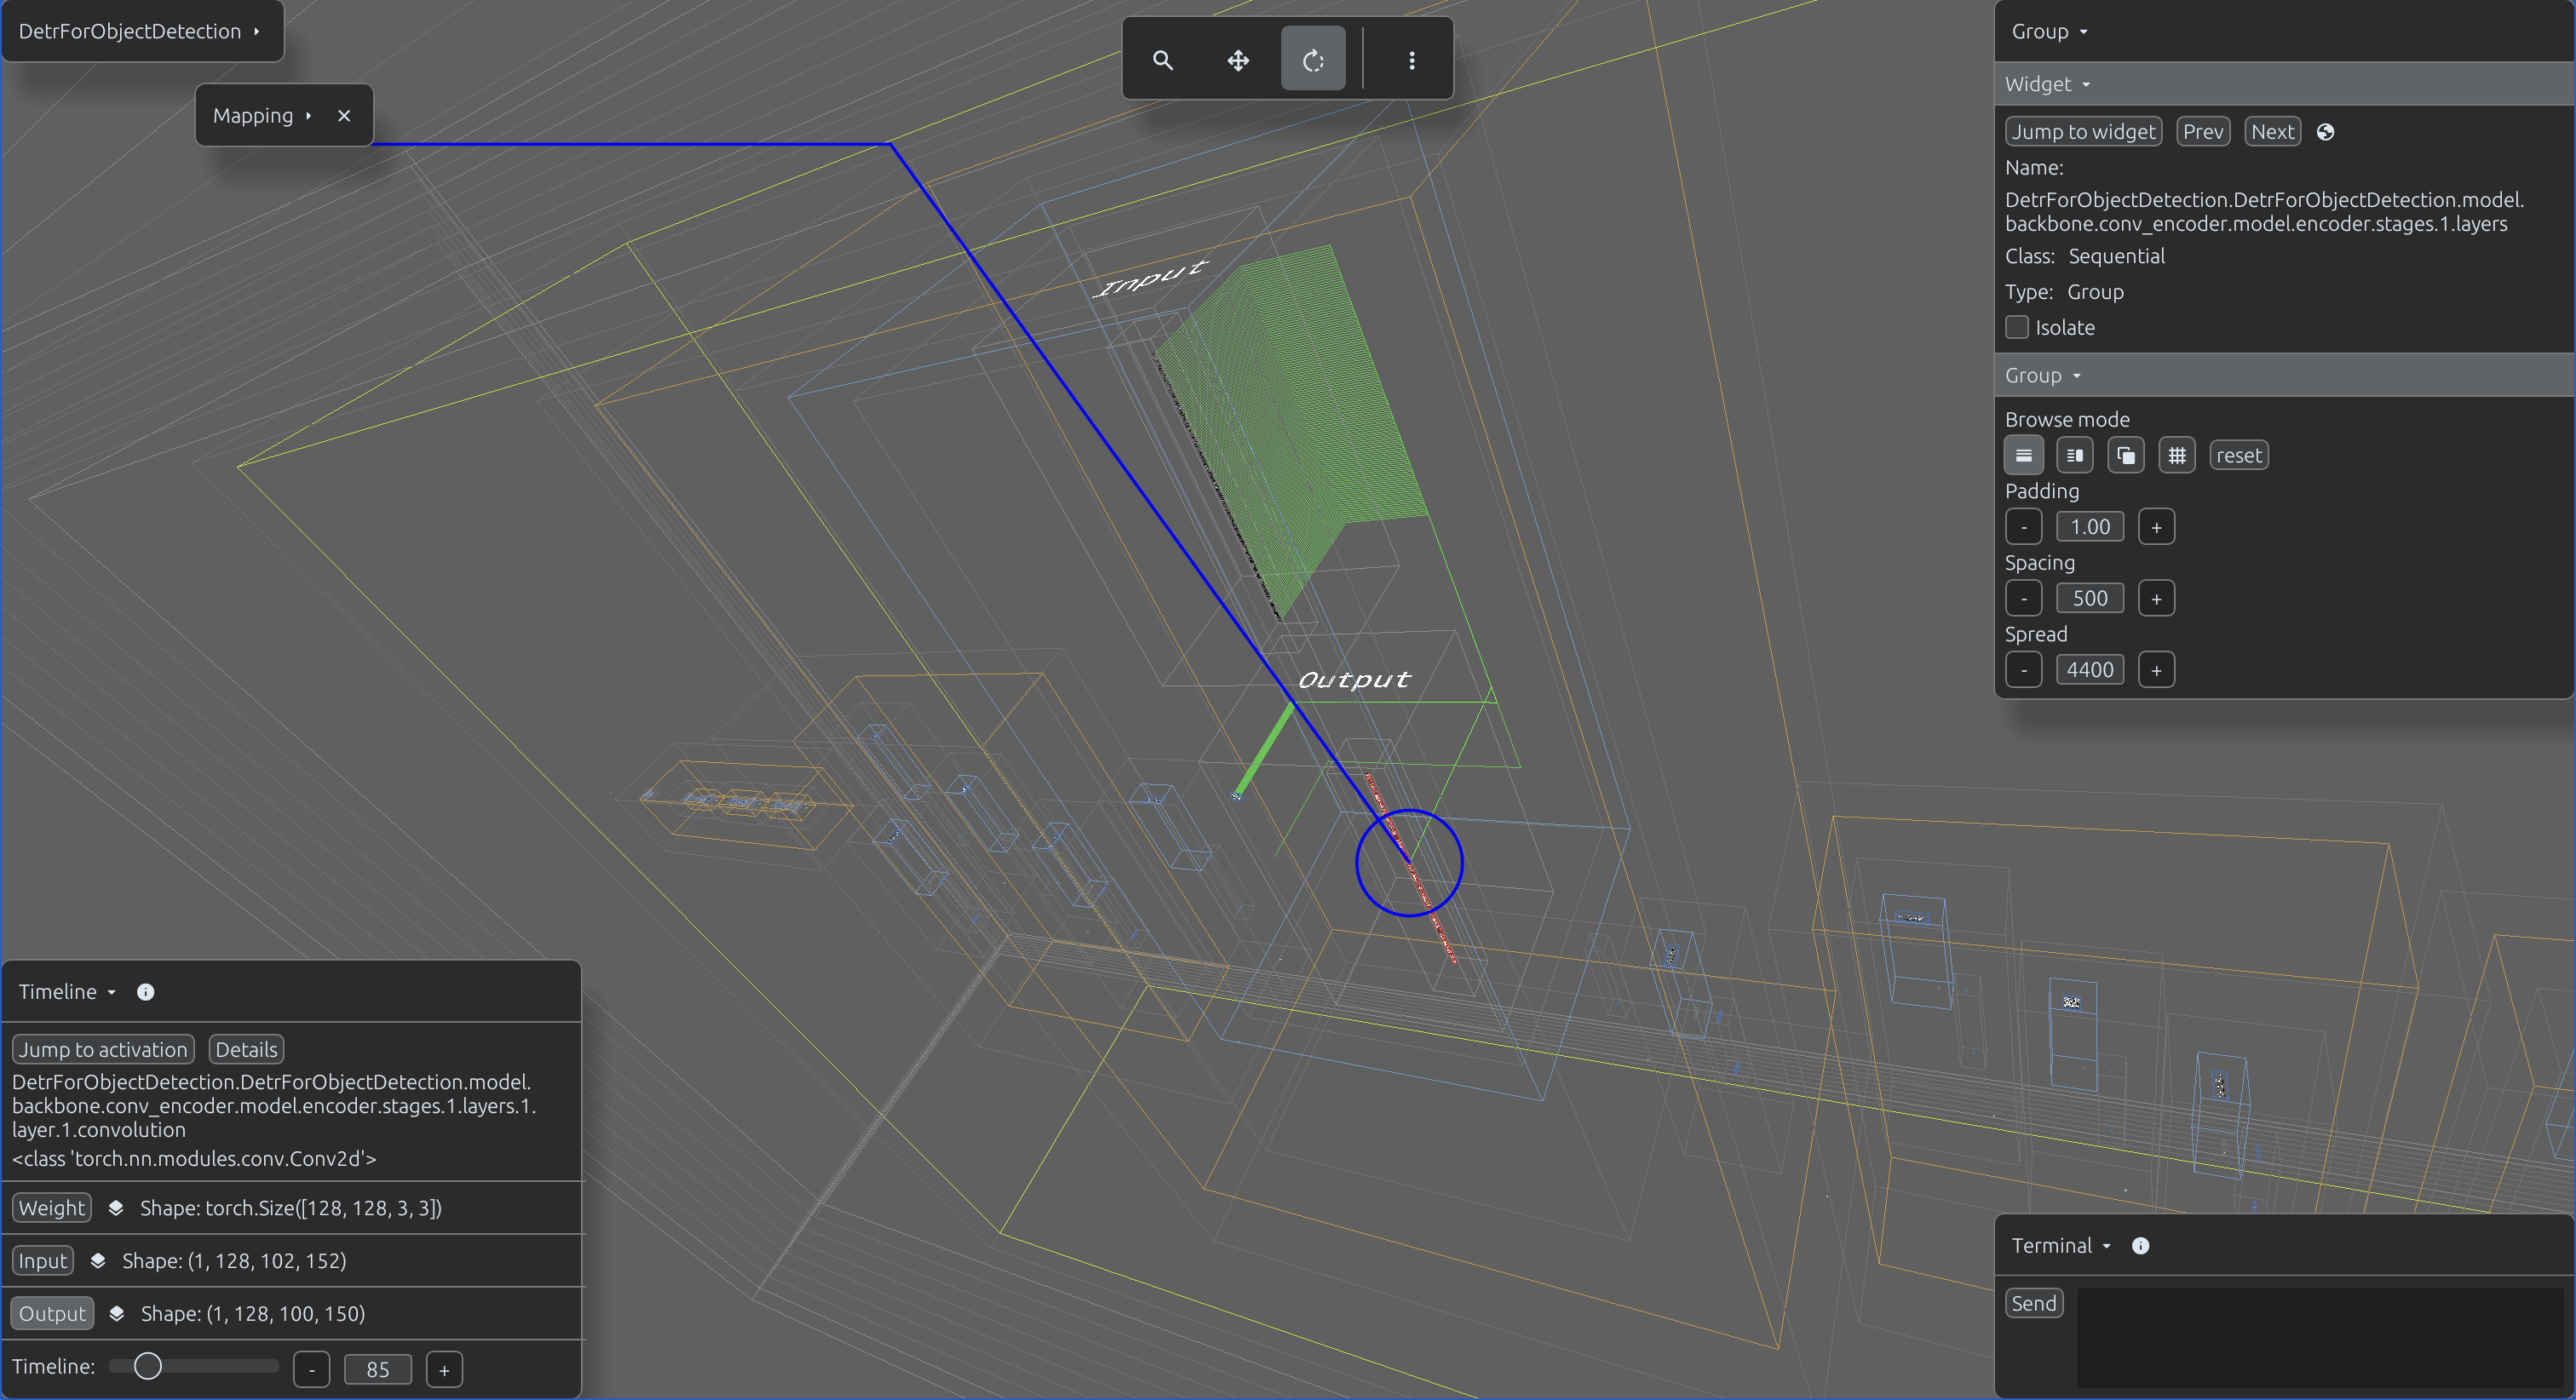
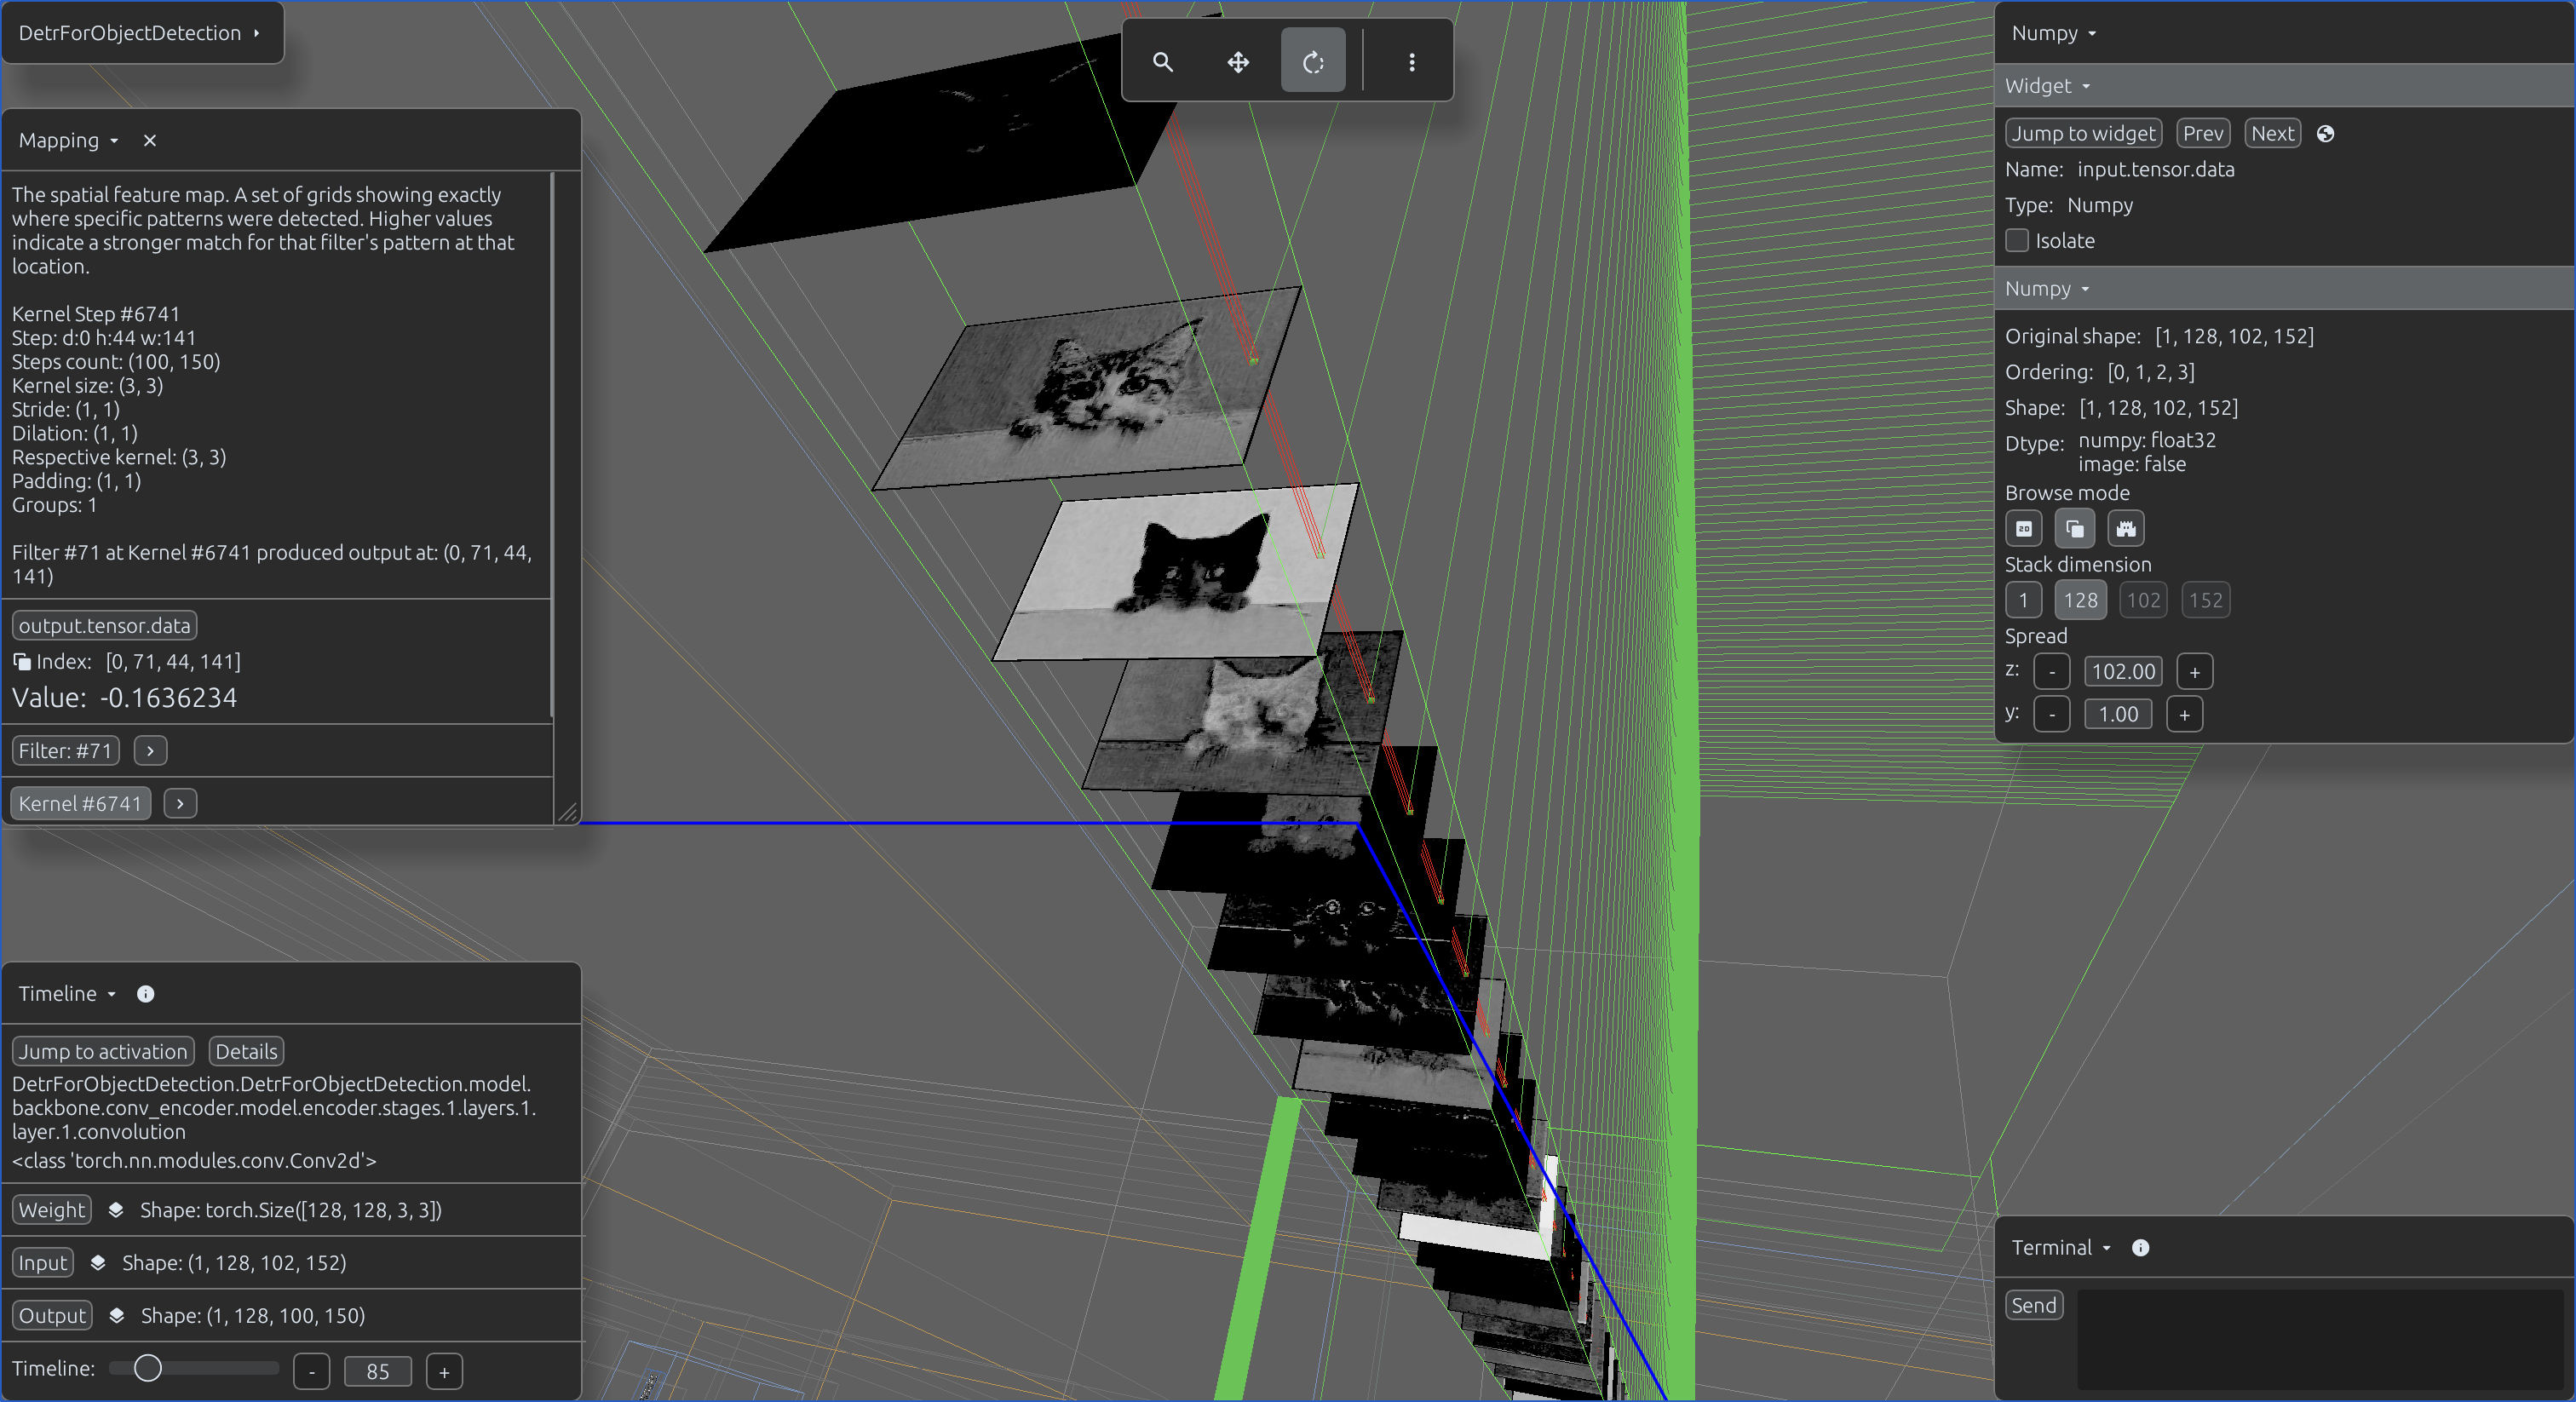
Afterward, you can visually inspect the input and output data alongside their relation to the module.
import svetoviz_webgpu as sv

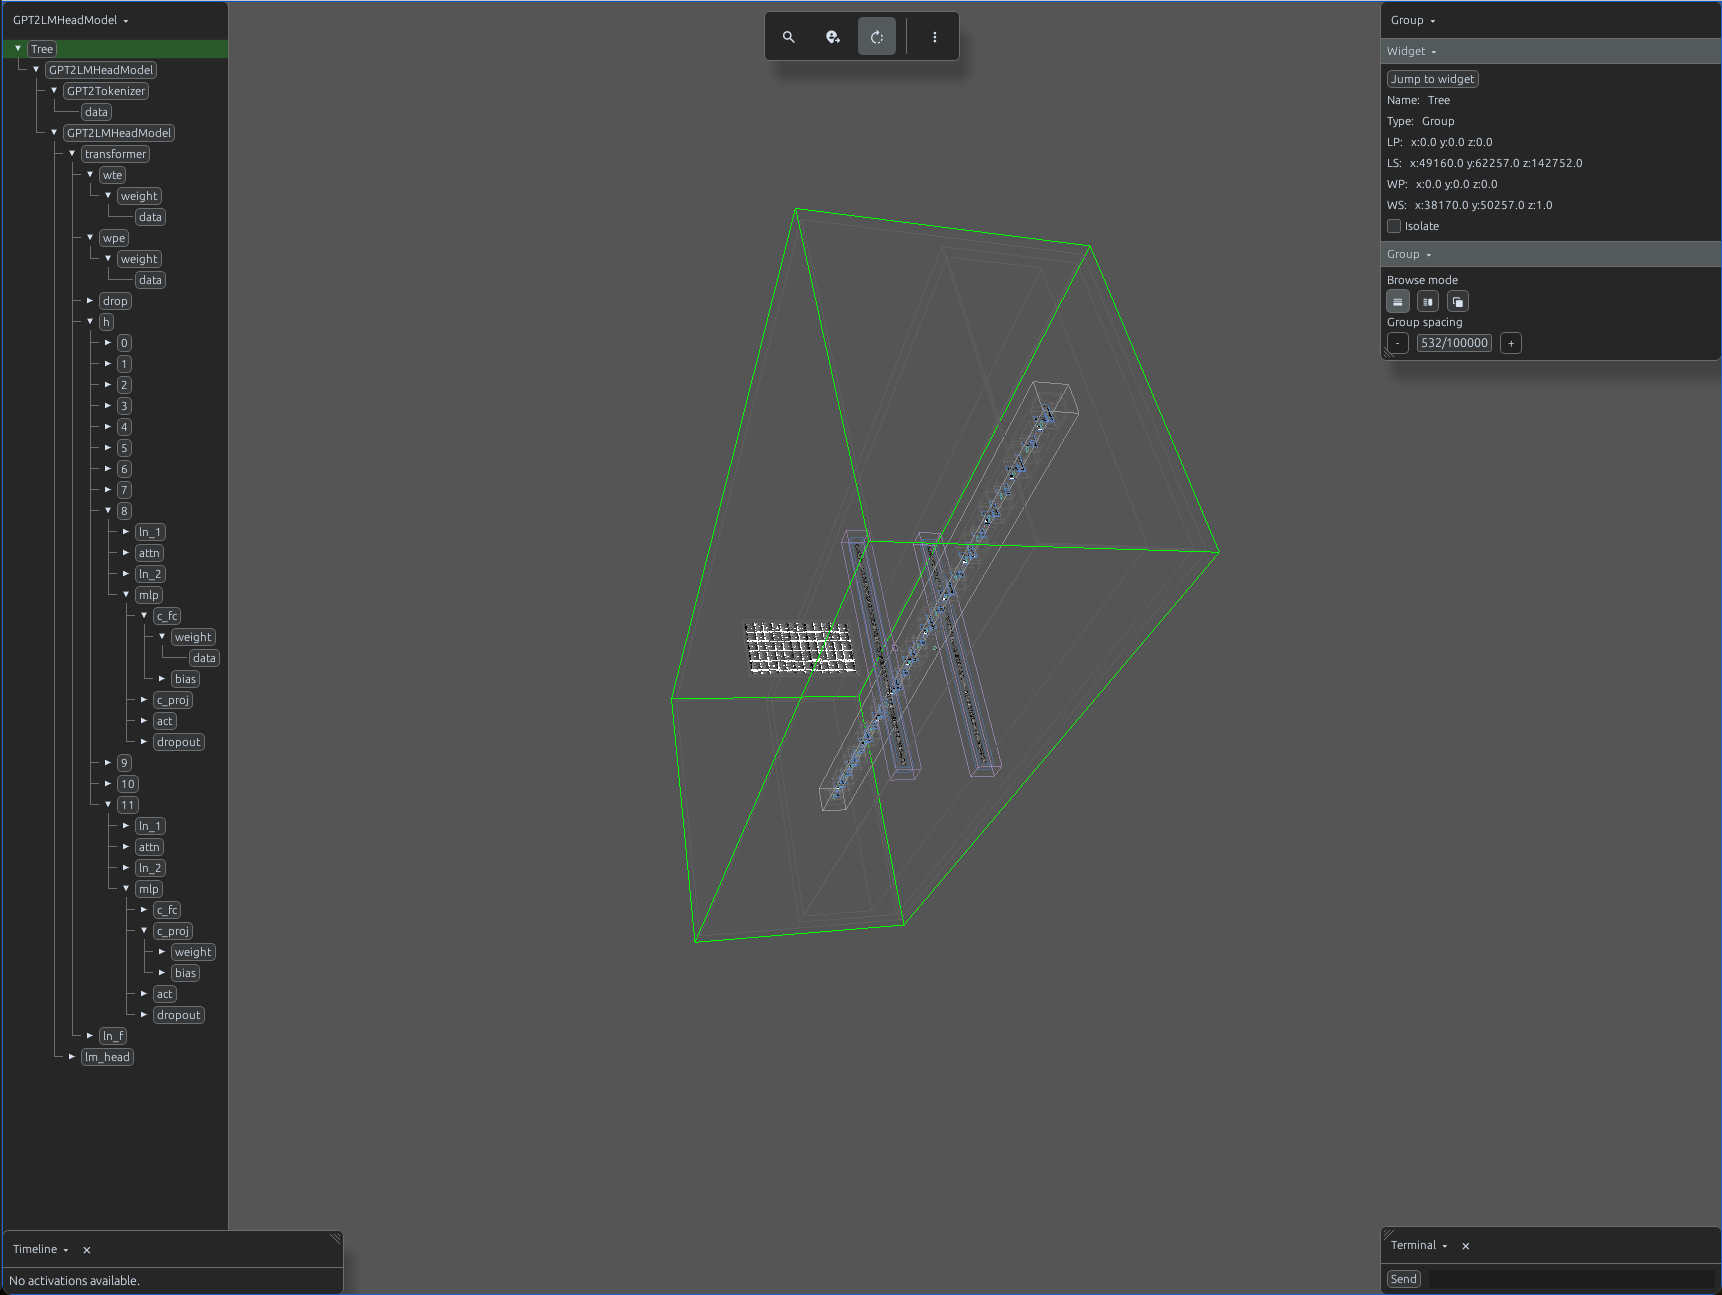
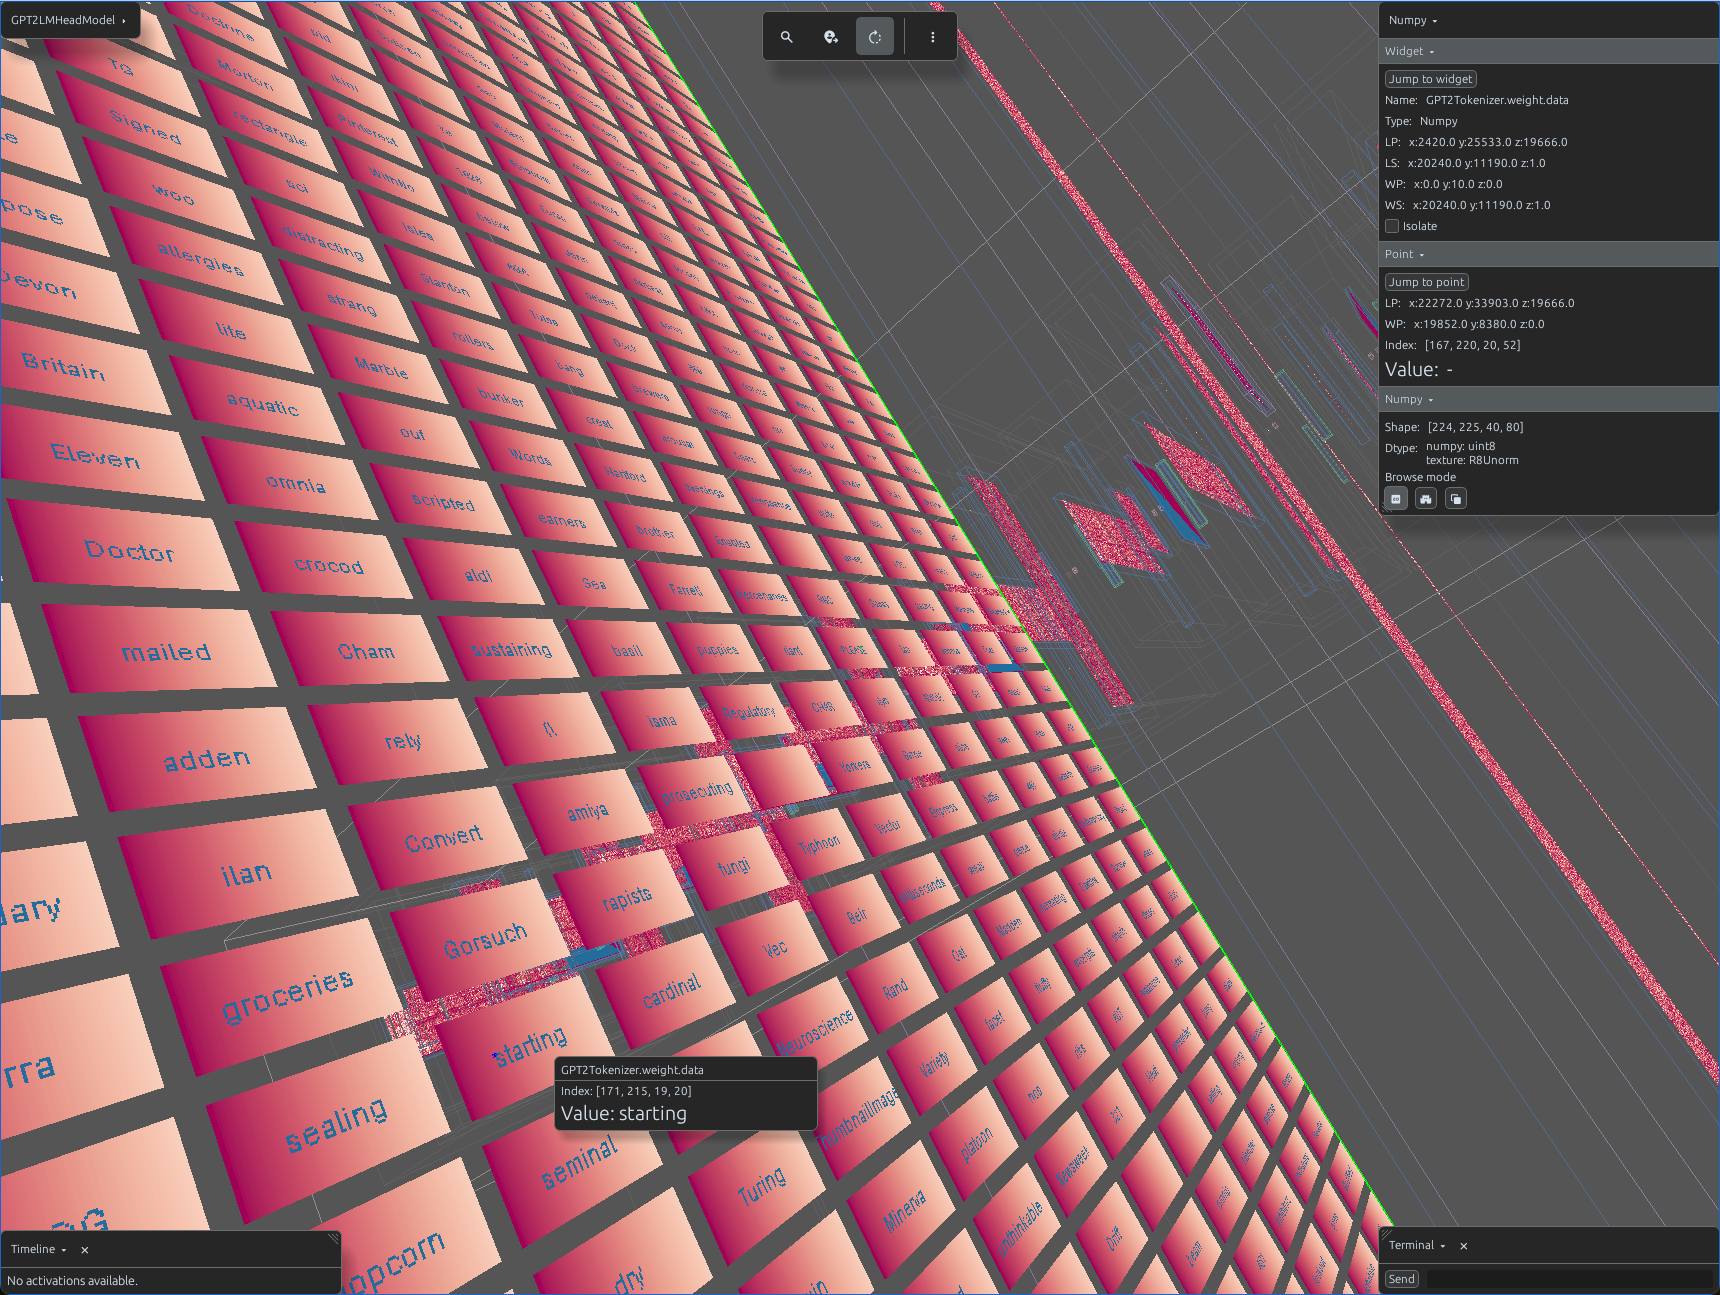
tokenizer = GPT2Tokenizer.from_pretrained('gpt2', device_map="cpu")
model = GPT2LMHeadModel.from_pretrained('gpt2', device_map="cpu")

def terminal_callback(buffer, message, images, files):
    # message, images and files come from GUI terminal input
    inputs = tokenizer(message, return_tensors="pt")

    # Generate continuation
    outputs = model.generate(**inputs, max_new_tokens=50)

    # Decode to string
    decoded = tokenizer.decode(outputs[0], skip_special_tokens=True)

    # Send messages back to GUI
    buffer.send_user_message(message)
    buffer.send_system_message(decoded)

sv.model(
    id="GPT2",
    model=model,
    tokenizer=tokenizer,
    terminal_callback=terminal_callback
)
import svetoviz_webgpu as sv

image_processor = DetrImageProcessor.from_pretrained(
    "facebook/detr-resnet-50",
    revision="no_timm",
    device_map="cpu")
model = DetrForObjectDetection.from_pretrained(
    "facebook/detr-resnet-50",
    revision="no_timm",
    device_map="cpu")

def terminal_callback(buffer, message, images, files):
    # images is an PIL.Image array of images added to terminal GUI
    for image in images:
        inputs = image_processor(images=image, return_tensors="pt")
        outputs = model(**inputs)
        buffer.send_system_message("processed")

sv.model(
    id="DERT",
    model=model,
    image_processor=image_processor,
    terminal_callback=terminal_callback
)
The blocking=False argument starts the debugger in non-blocking mode,
allowing you to continue with your model interaction as usual.
import svetoviz_webgpu as sv

tokenizer = AutoTokenizer.from_pretrained(
    "speakleash/Bielik-Minitron-7B-v3.0-Instruct")
model = AutoModelForCausalLM.from_pretrained(
    "speakleash/Bielik-Minitron-7B-v3.0-Instruct",
    torch_dtype=torch.float16)

sv.model(
    id="Bielik-Minitron-7B",
    model=model,
    tokenizer=tokenizer,
    blocking=False
)

while True:
    # Debugger is attached. You can interact or inspect training loop
    text = my_external_input_message()

    inputs = tokenizer(text, return_tensors="pt")
    outputs = model.generate(**inputs, max_new_tokens=50)
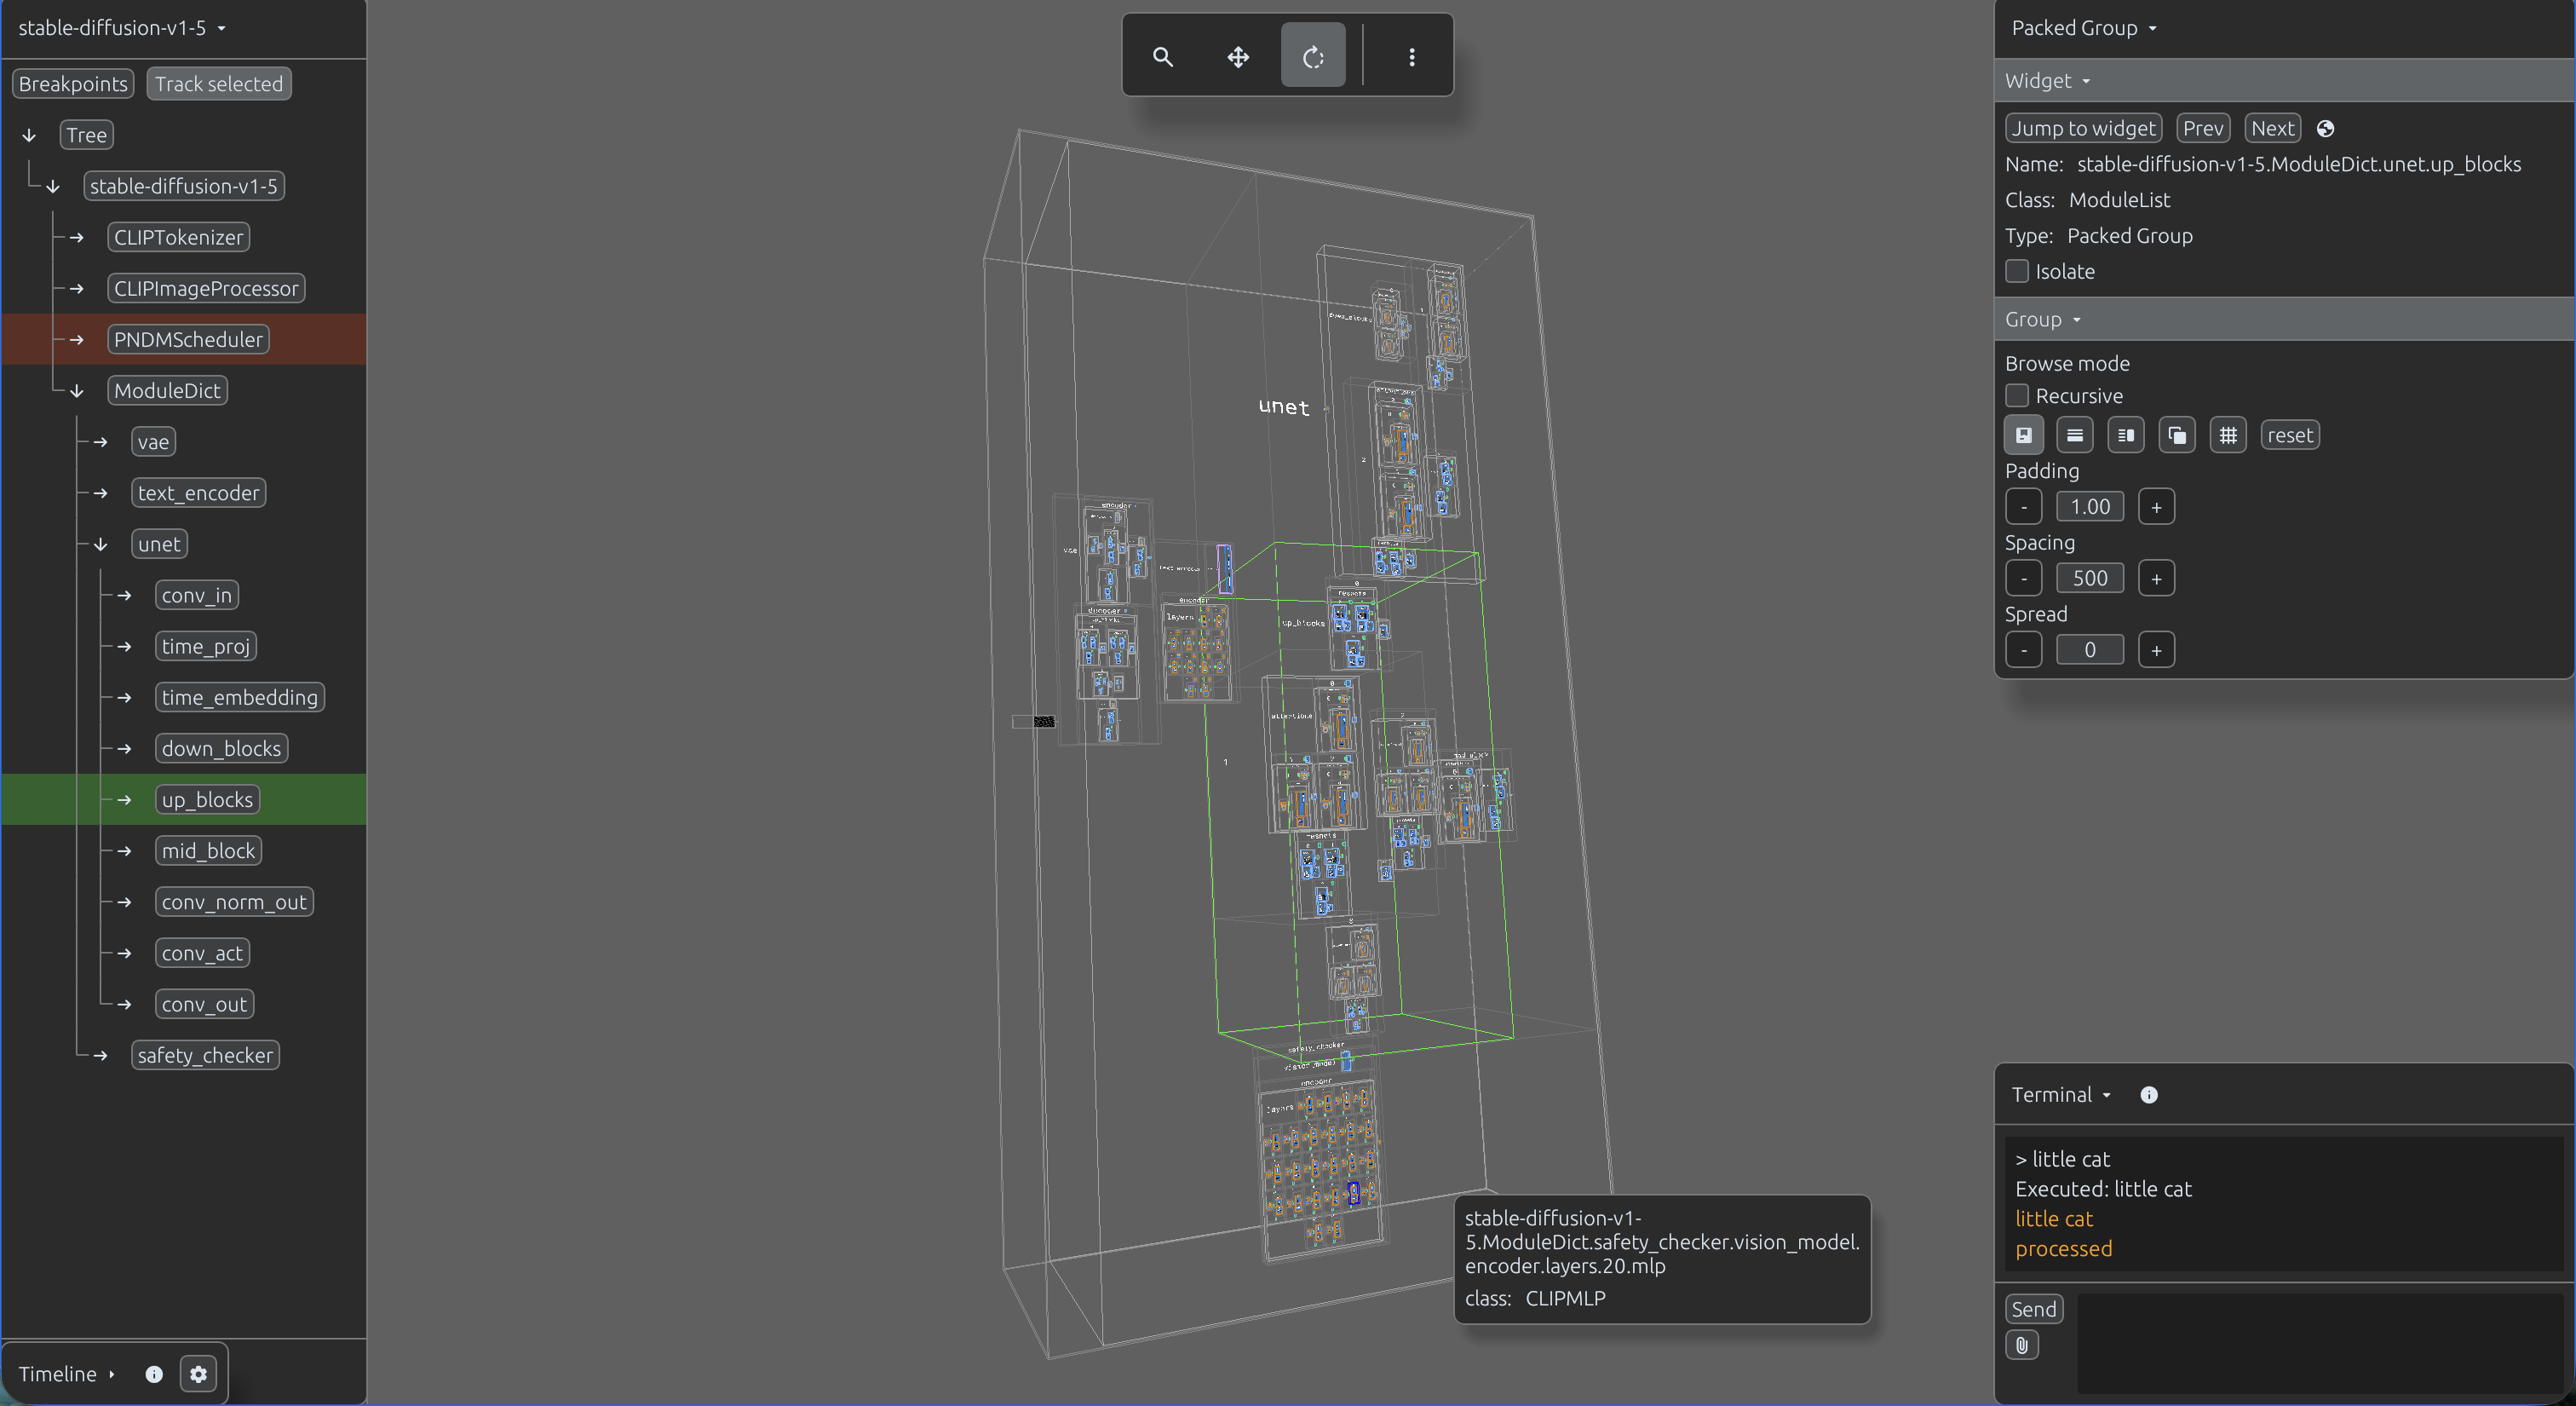
Collected activations are stored in RAM. For small models, you can inspect an entire pass.
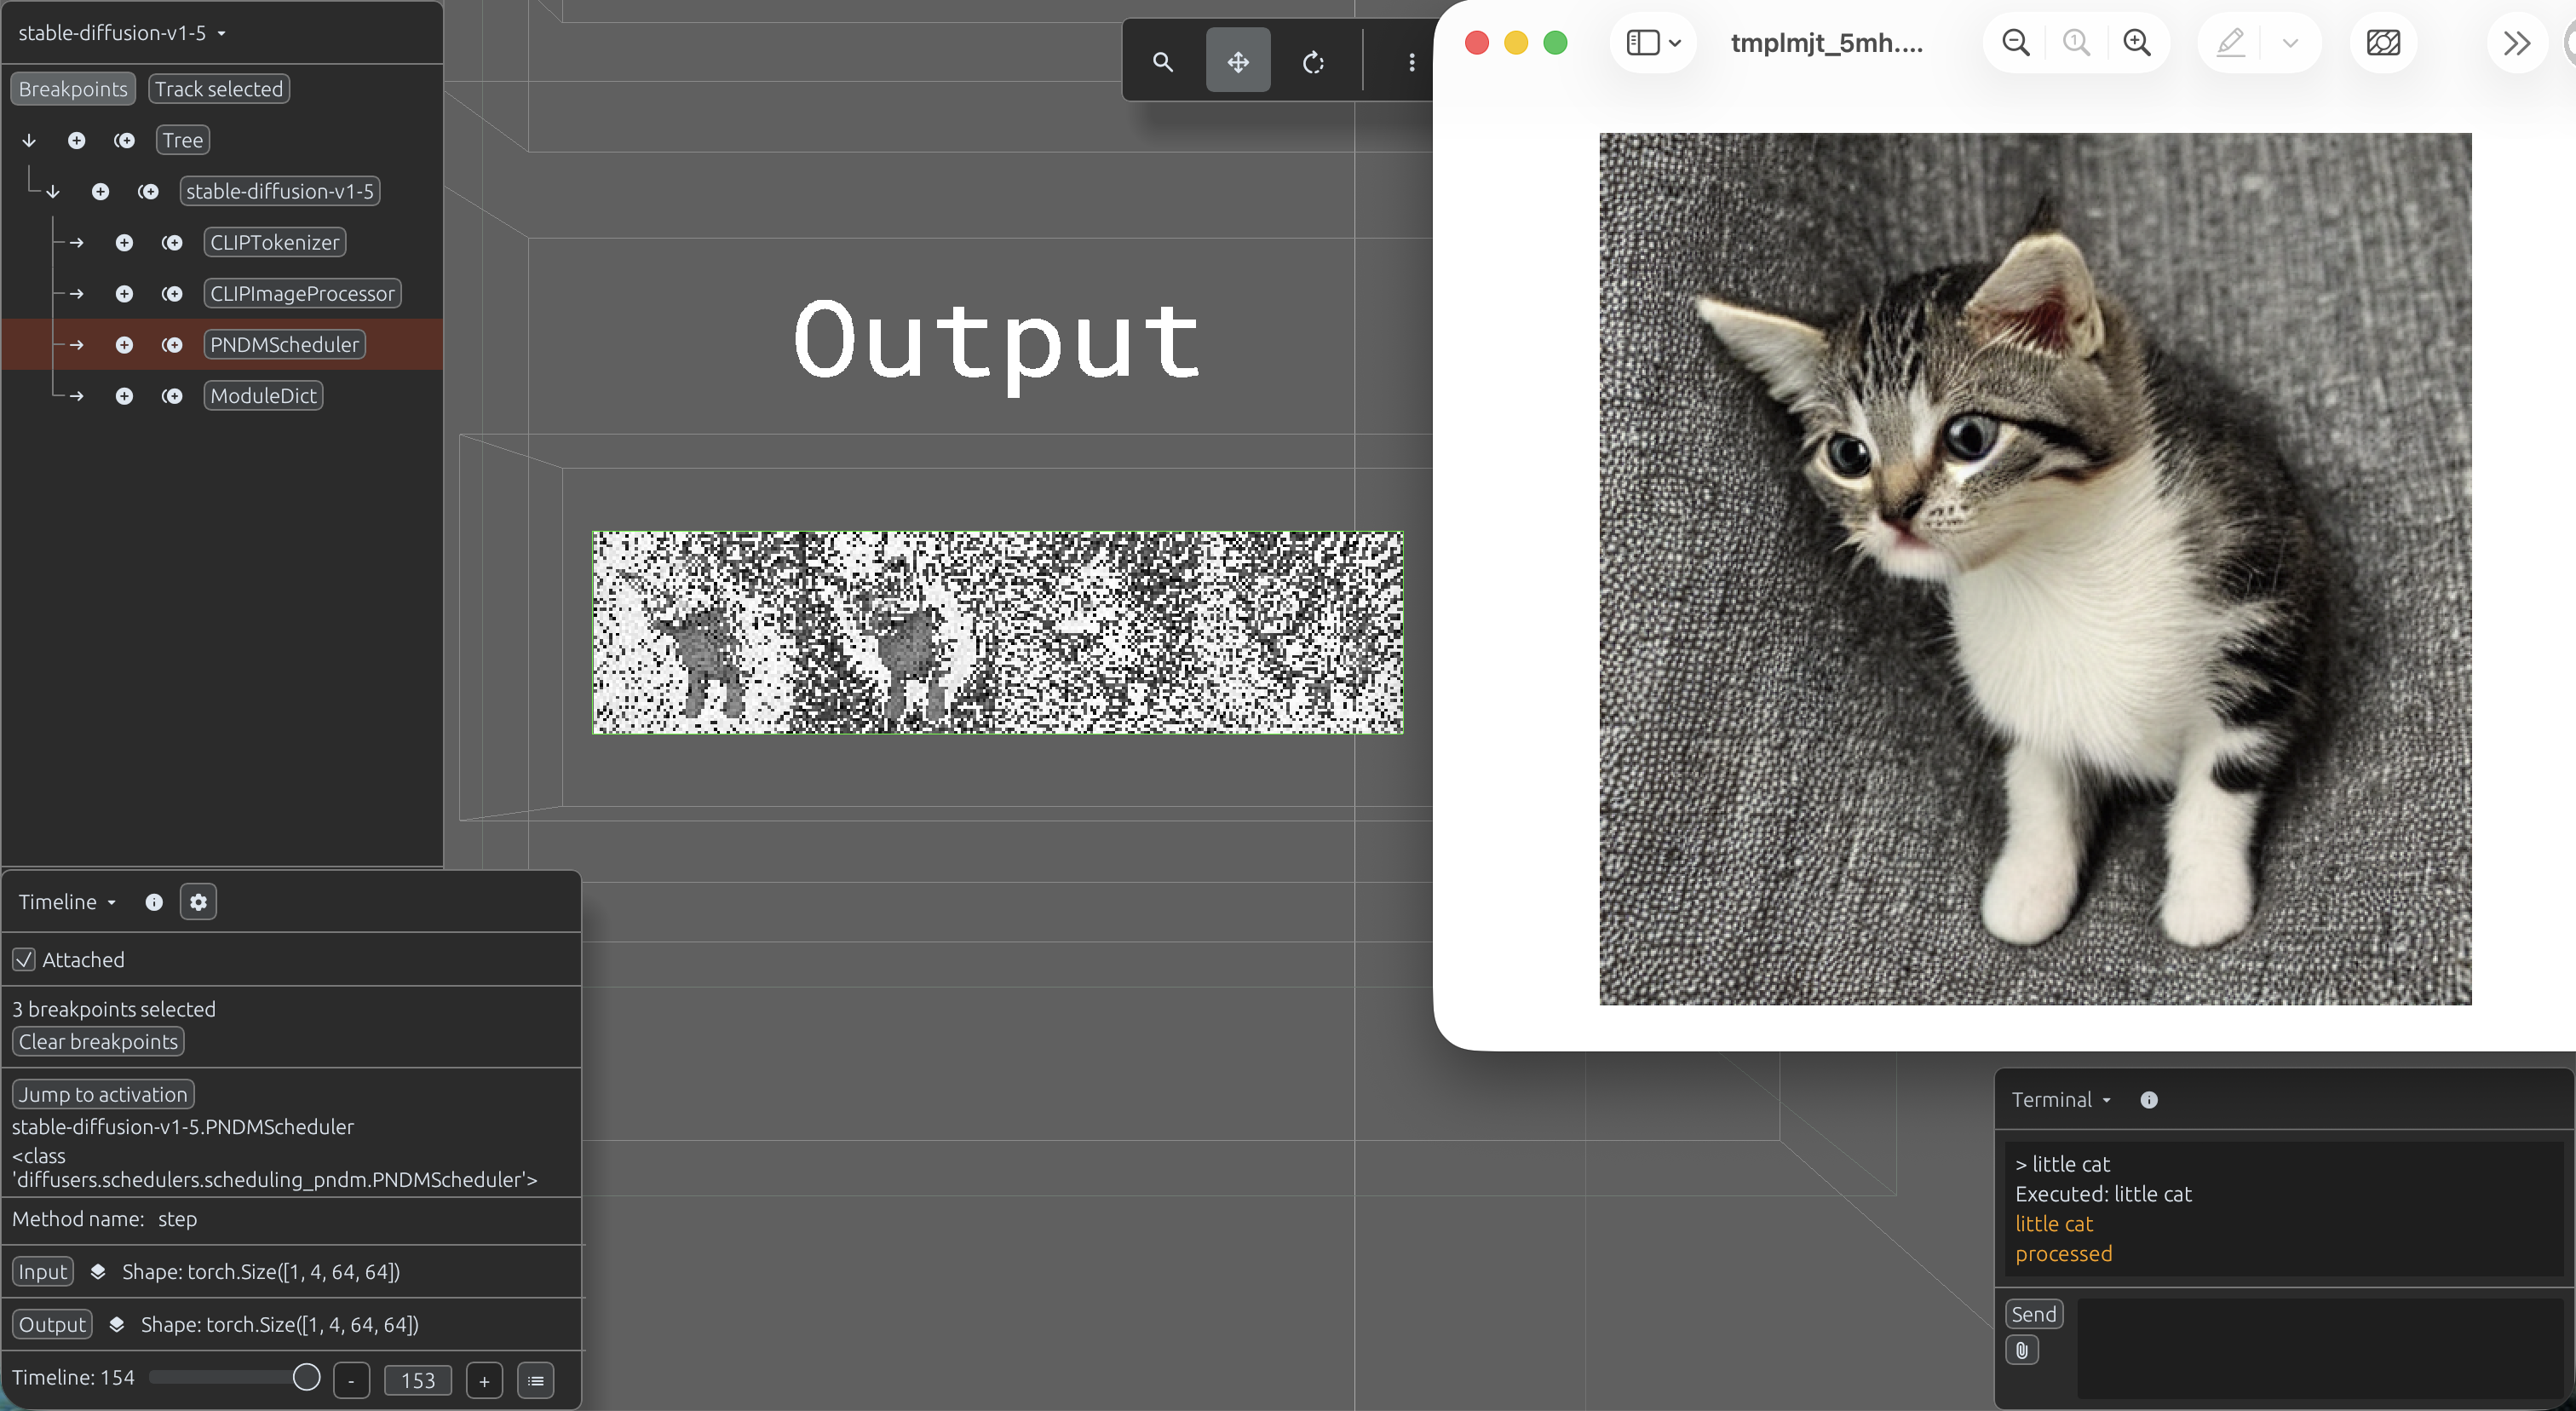
For larger models like diffusion models, select specific breakpoints.
For example, you can select the Scheduler module to see each step of the denoising process.
import svetoviz_webgpu as sv

pipe = DiffusionPipeline.from_pretrained(
    "stable-diffusion-v1-5/stable-diffusion-v1-5",
    torch_dtype=torch.float16)

pipe = pipe.to("mps")
pipe.enable_attention_slicing()

def terminal_callback(buffer, message, images, files):
    # Generate an image from terminal input message
    buffer.send_system_message(message)
    image = pipe(message).images[0]
    image.show("output.png")

sv.pipeline(
    id="stable-diffusion-v1-5",
    pipe=pipe,
    terminal_callback=terminal_callback
)
Use Views API with ModelView or PipelineView to build compressed, static representation of the
model.
Online models
→
Use the settings window to modify various rendering aspects of your scene.
Adjust themes, layouts, or matrix settings to control the visual
representation of data values when viewed at close range.
Next Section
Pytorch
→